|
|
Post by dmurphy on Jun 9, 2015 17:21:03 GMT -6
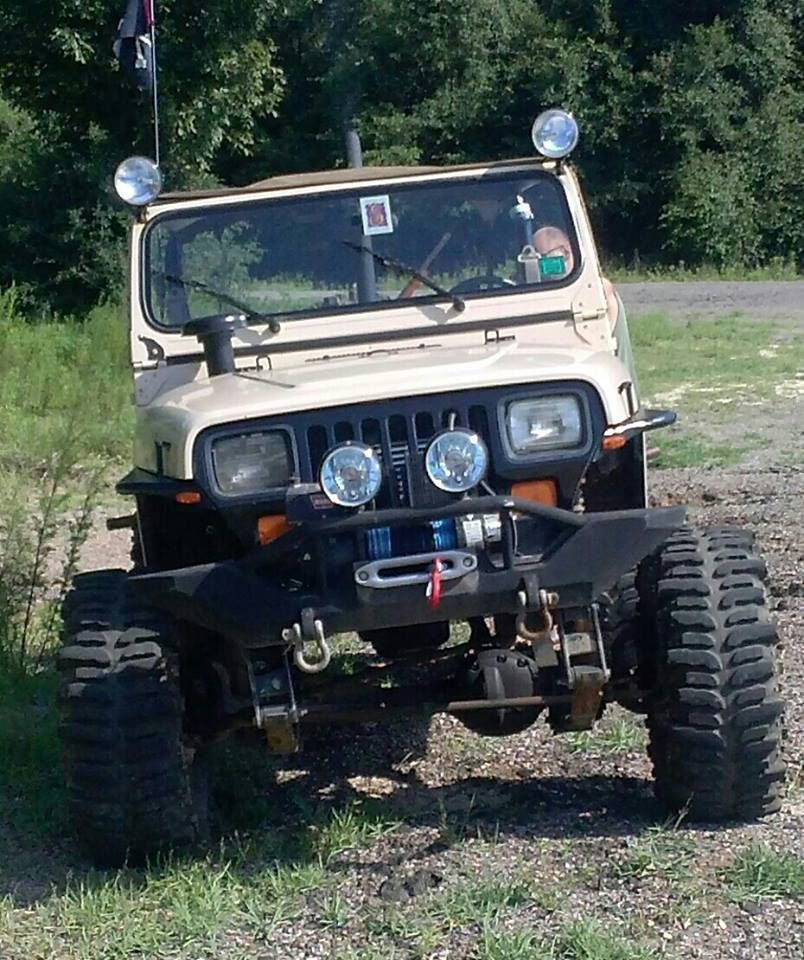
For anyone who went on the Eglin ride in the spring they will know what the issue is. I got stuck 3 times and all were my stock skid bottoming out and needed to be pulled or winched out. My TJ has a 4" lift, Not low budget, All 8 arms are adjustable along with both track bars. The problem is there is an 1 1/2" drop in my transfer case. So as far as my transfer case sees it I have a 2" lift running 33" tires.
There are a couple of things I have already done to her. With a tummy tuck I am getting rid of the stock skid and going with an Undercover Fab Extra Clearance skid plate. The stock skid hangs down about 4 1/2" all by itself the new is only 2", Along with the new one being flat and no shovel. So with the 1 1/2" drop I had adds up to 6" hanging down from the frame rails. So to move the transfer case and transmission up you have to make room in the transmission tunnel. So I have already installed a 1 1/4" Zone body lift and 1" higher motor mounts. I have all the parts I need to get the skid on and get a length for the new rear drive shaft. So this weekend I will be putting a TeraFlex SS SYE in and the new skid. By doing away with the slip yoke that comes on the 231 I can increase the length of the rear drive shaft and try to keep my u-joints in the rear happy. It is all A squared + B squared = C squared. When the stock drive shaft is under 11" you can not raise the t-case up the 5+" with out changing the angle of the drive shaft to 30 degrees with out shortening the out put of the t-case.
Will try to take plenty of pictures and explain what you need to do.
Stay tuned Friday is only 3 days away. |
|
mpja
New Member

Posts: 45 
|
Post by mpja on Jun 9, 2015 19:26:10 GMT -6
Good deal, can't wait to see the finished product.
|
|
|
|
Post by dmurphy on Jun 20, 2015 17:25:39 GMT -6
Alright, Just got her all back together. Started this morning at 8:30, Had every thing put up after the test drive(beer run, It was hot today} after finishing up at 4:00 pm.
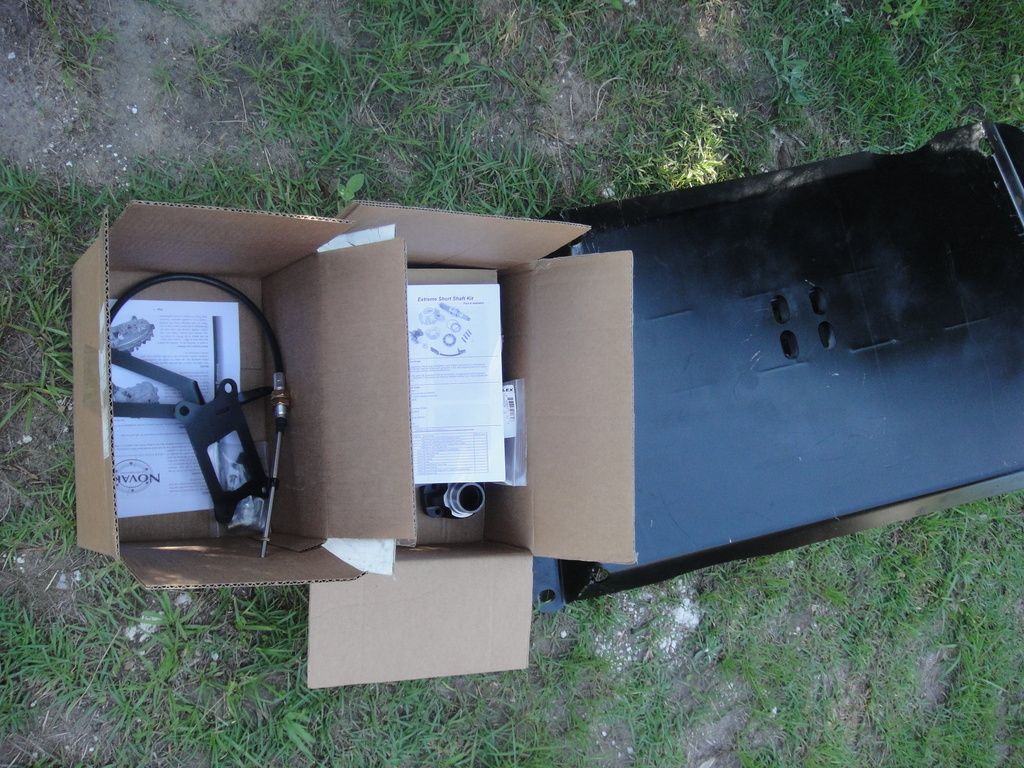
The three things that got done today were a Teraflex extreme short shaft kit, a Novak cable shifter for the transfer case, and a Under Cover Fab Original Extra Clearance skid.
This is what is going on the Jeep today.
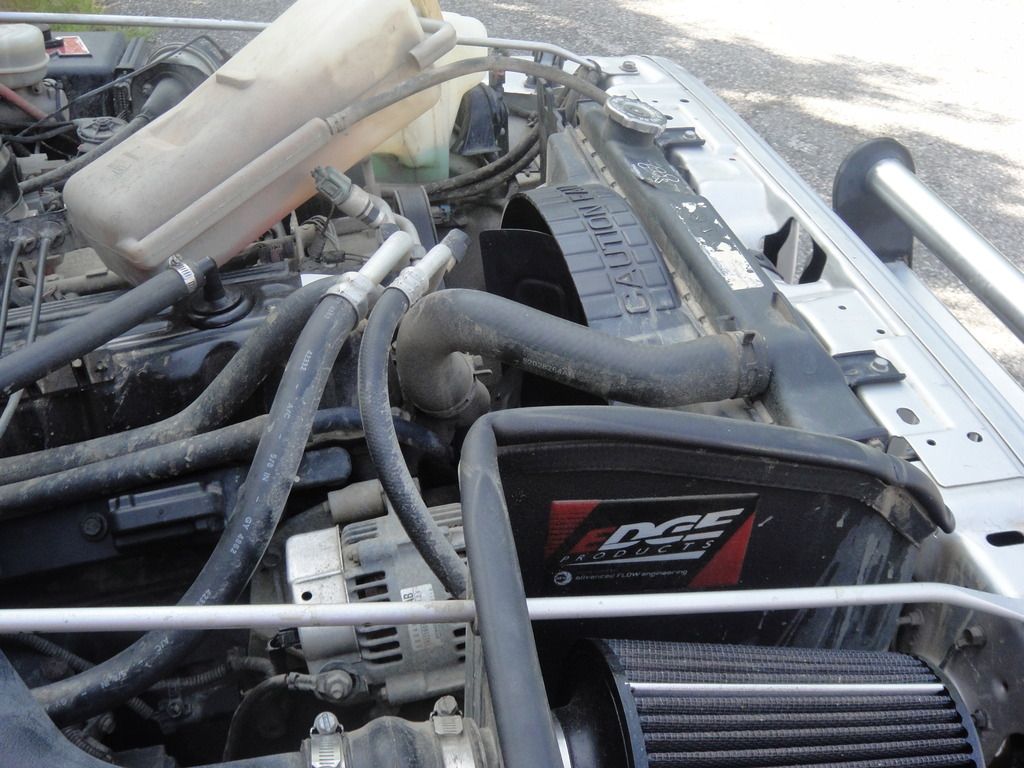
First thing I did was unbolt the fan shroud. Do not know it this is a need but better to do it now the when I start jacking up the transmission.
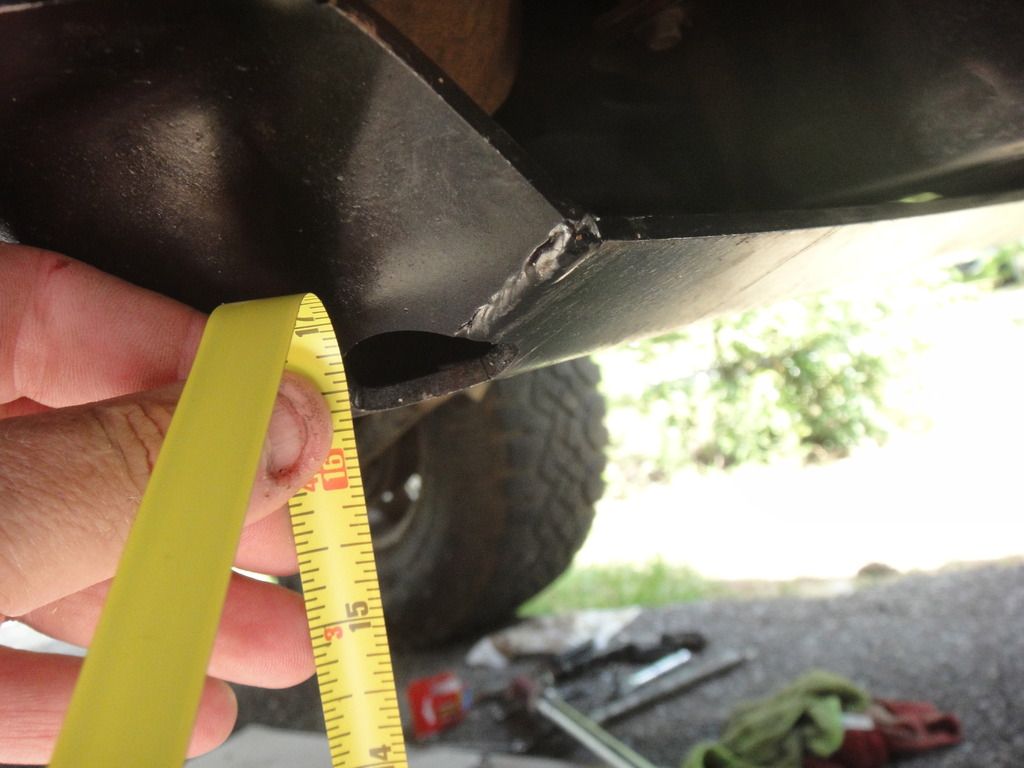
Stock skid is 14" off the ground. I have already removed the 1 1/2" transfer case drop when I did the body lift and motor mount lift.

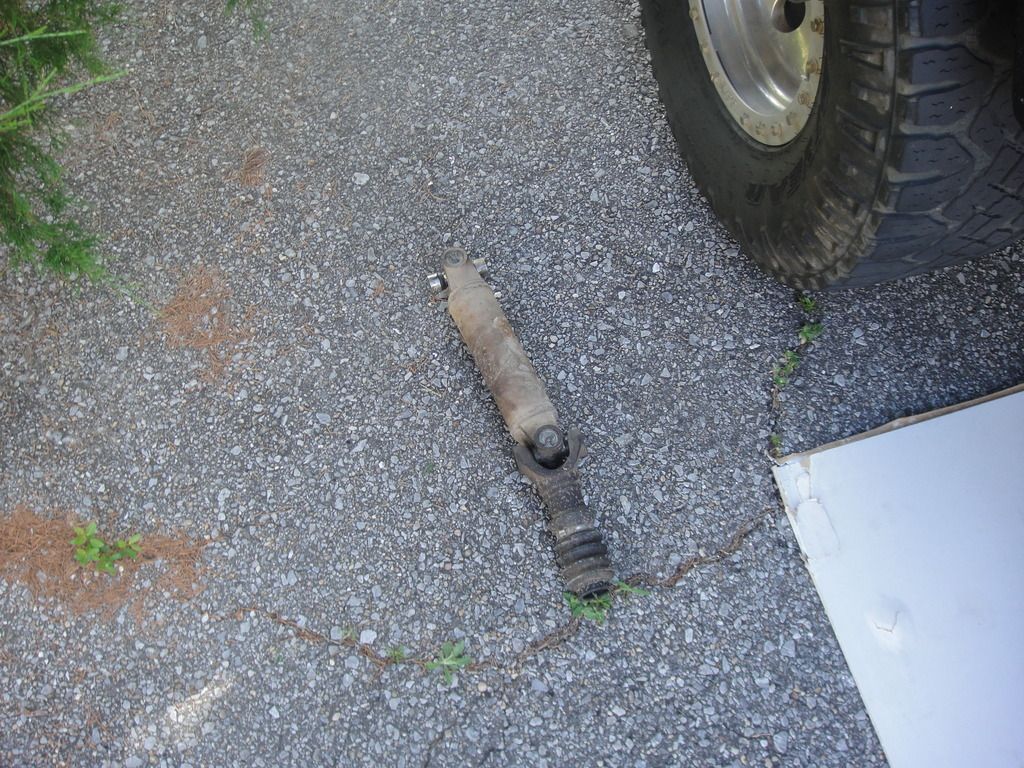
First step remove the rear drive shaft. Anybody need a TJ rear shaft.
Here is a look at the Stock skid and the New skid
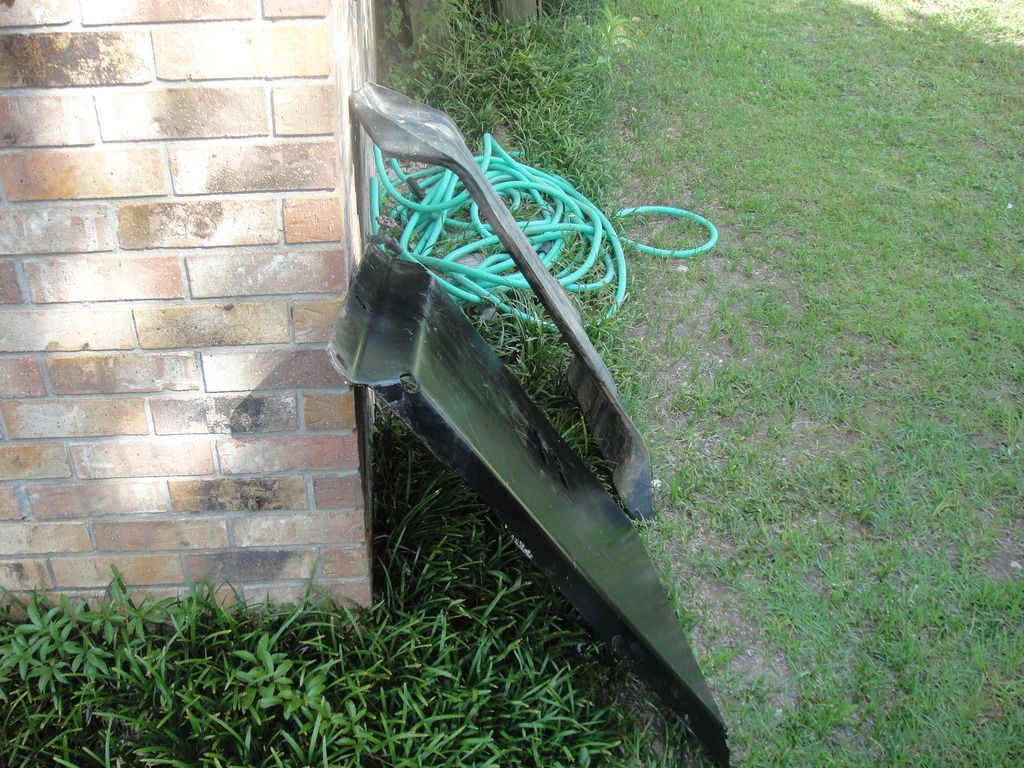
The new skid is 2" from the frame to the bottom. 6 3/4" bolts will get the stock skid out.
Drain the transfer case.
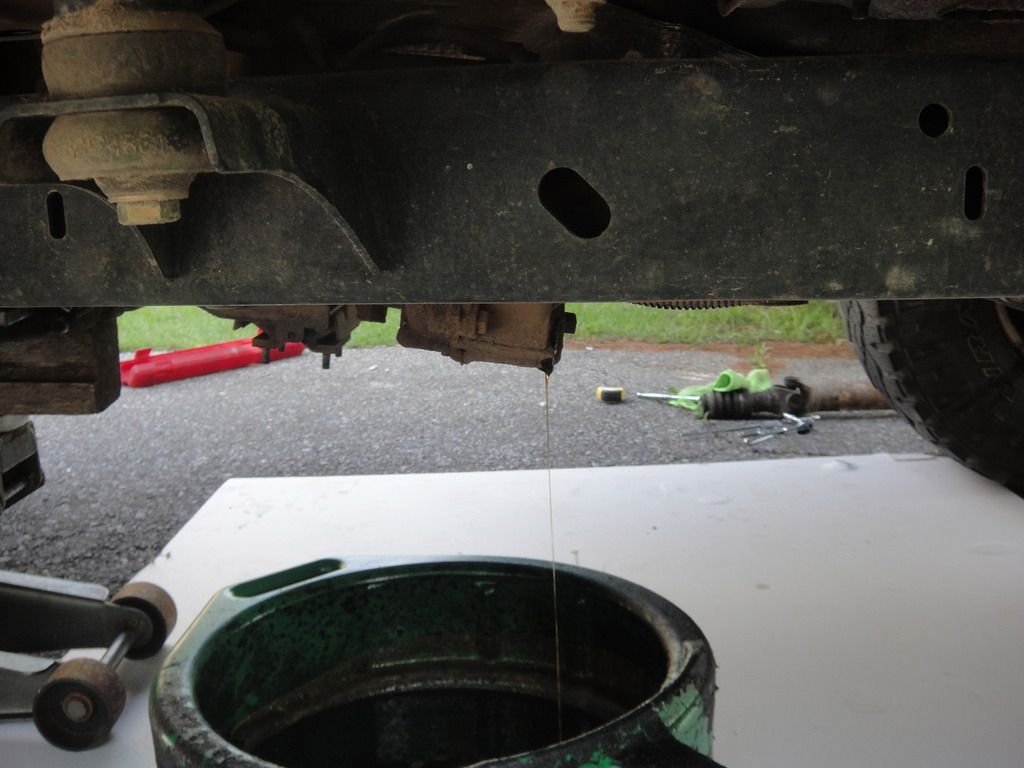
While the case is draining remove the front shaft. 8 8mm bolts, You might need to hit neutral on the t-case to get to the top two.
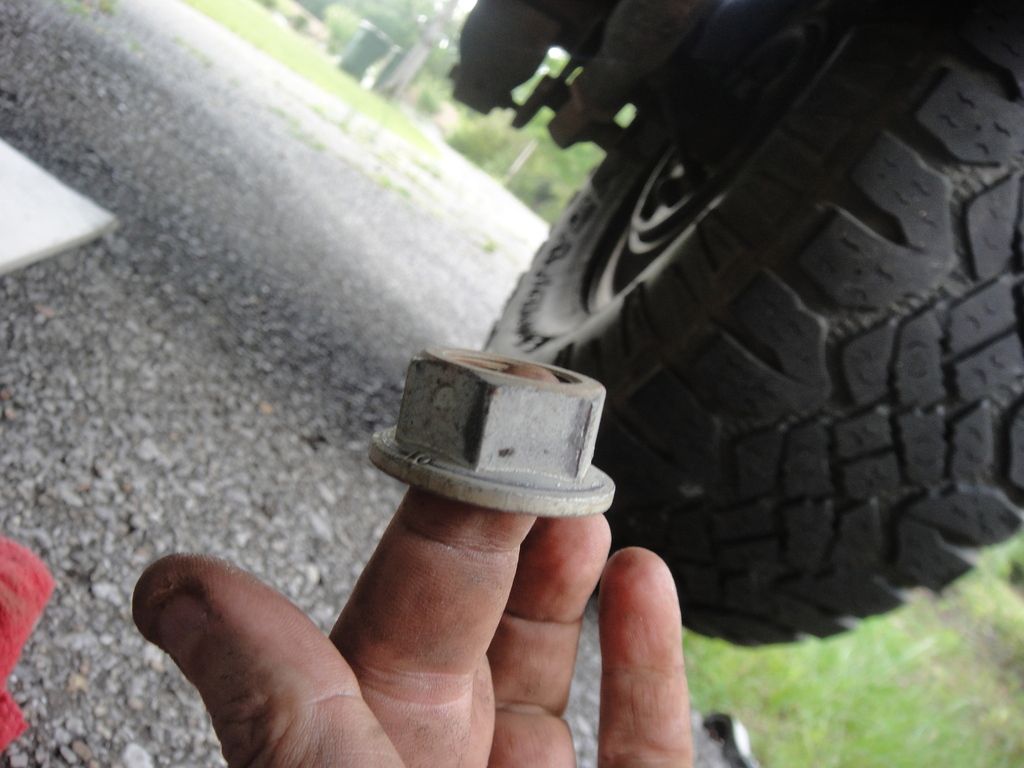
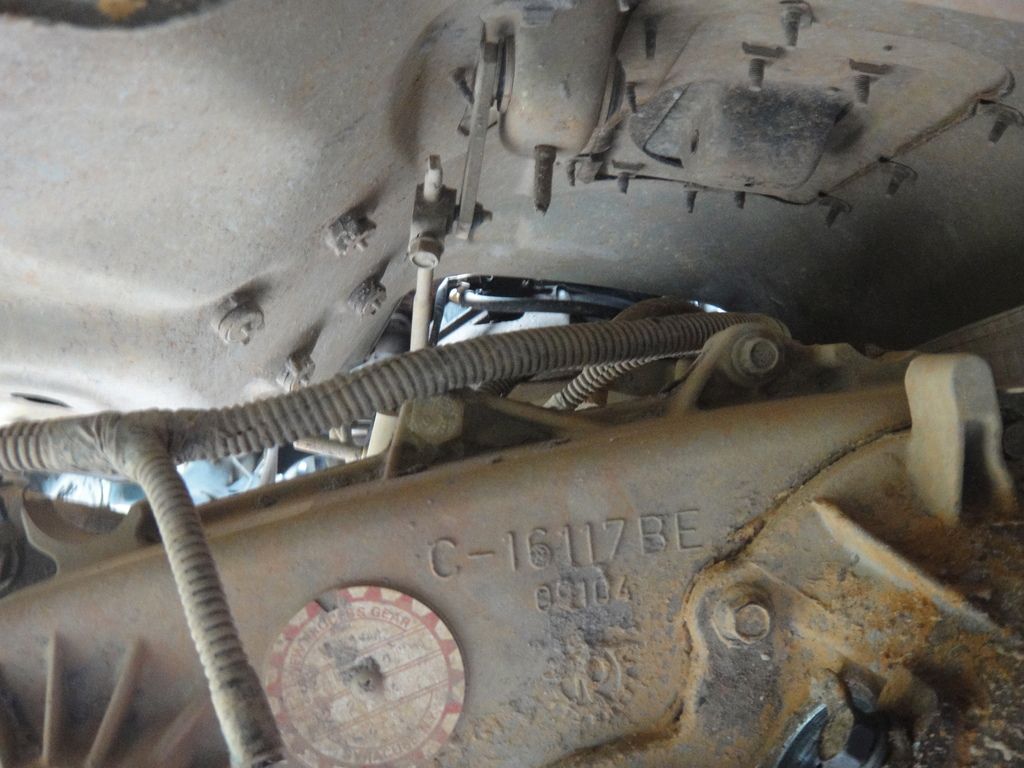
You need to remove this nut. 1 1/8" Tight. Had the t-case in 4-lo.
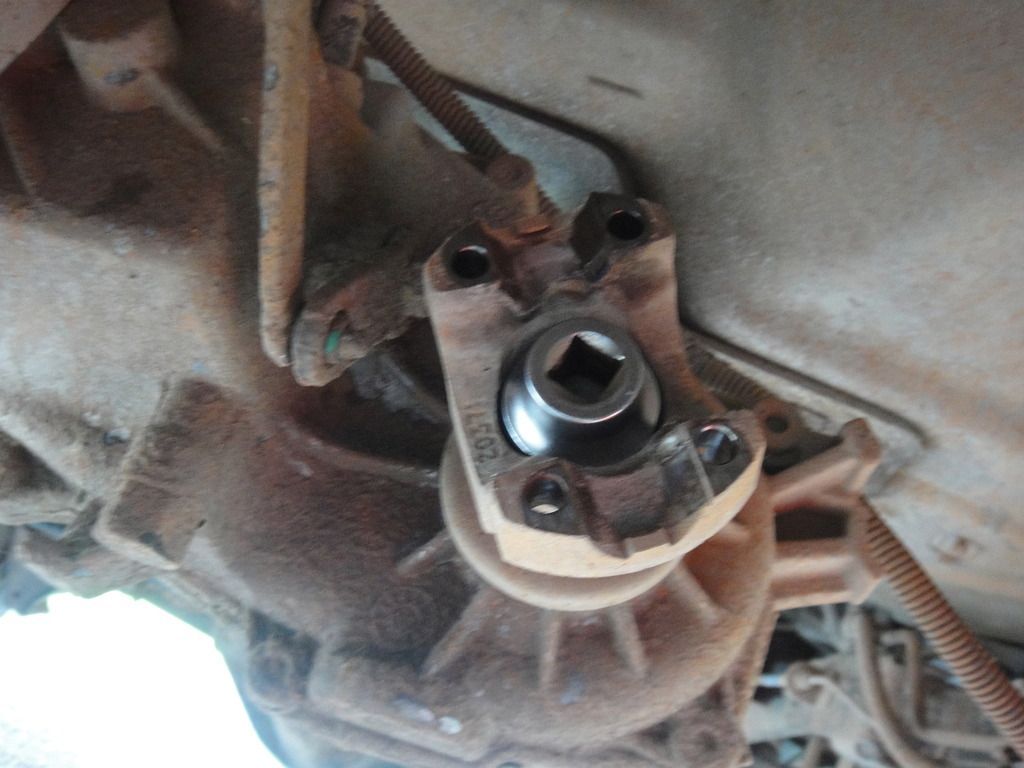
No problem with an impact.
Will continue. |
|
|
|
Post by dmurphy on Jun 20, 2015 17:37:44 GMT -6
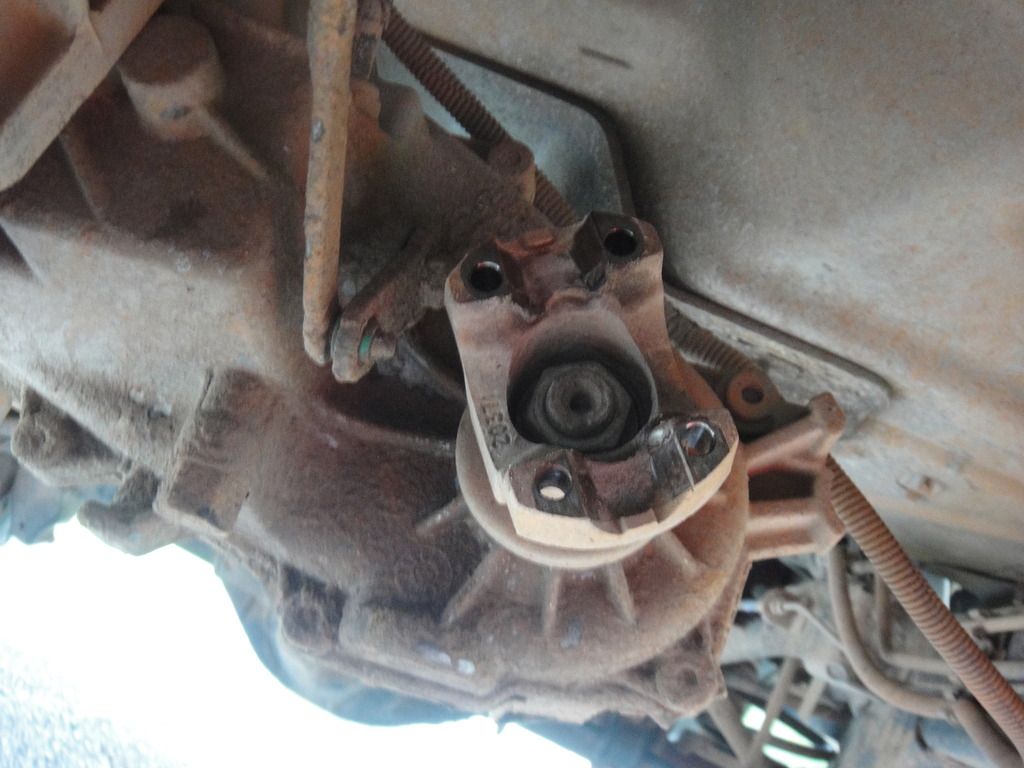
Couple of taps and the yoke is off.
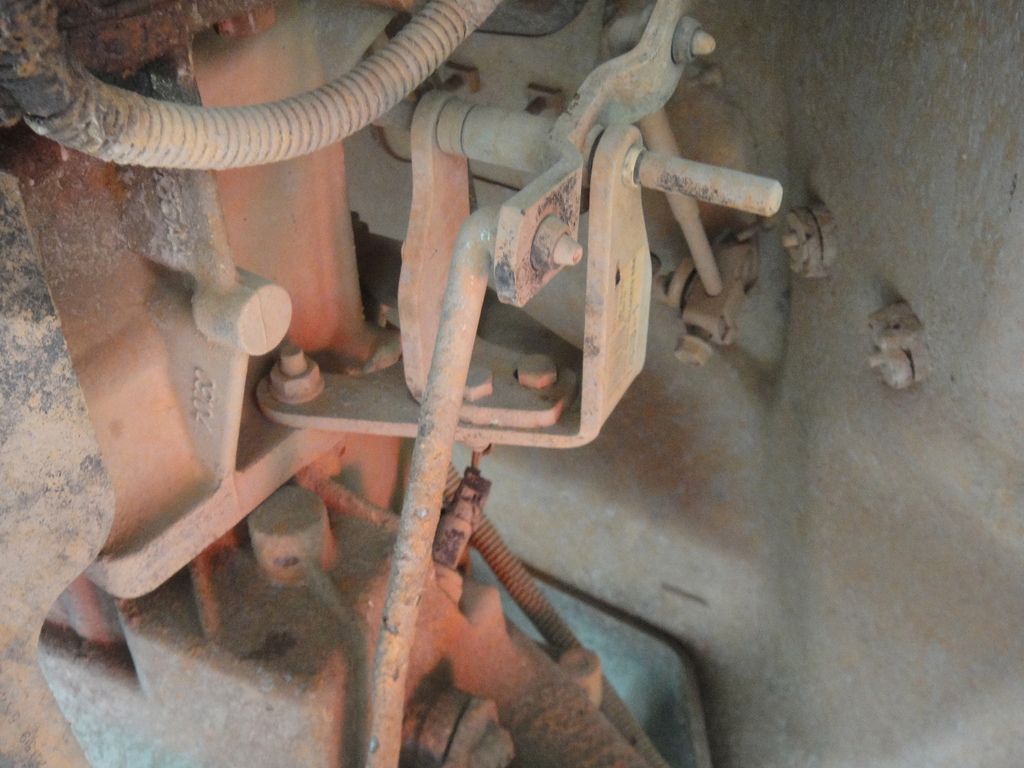
Looking at the linkage, This does not look stock.
Back of the t-case unplug the speedo.
Then 7 15mm bolts and 1 10mm that must have a nut on the front.
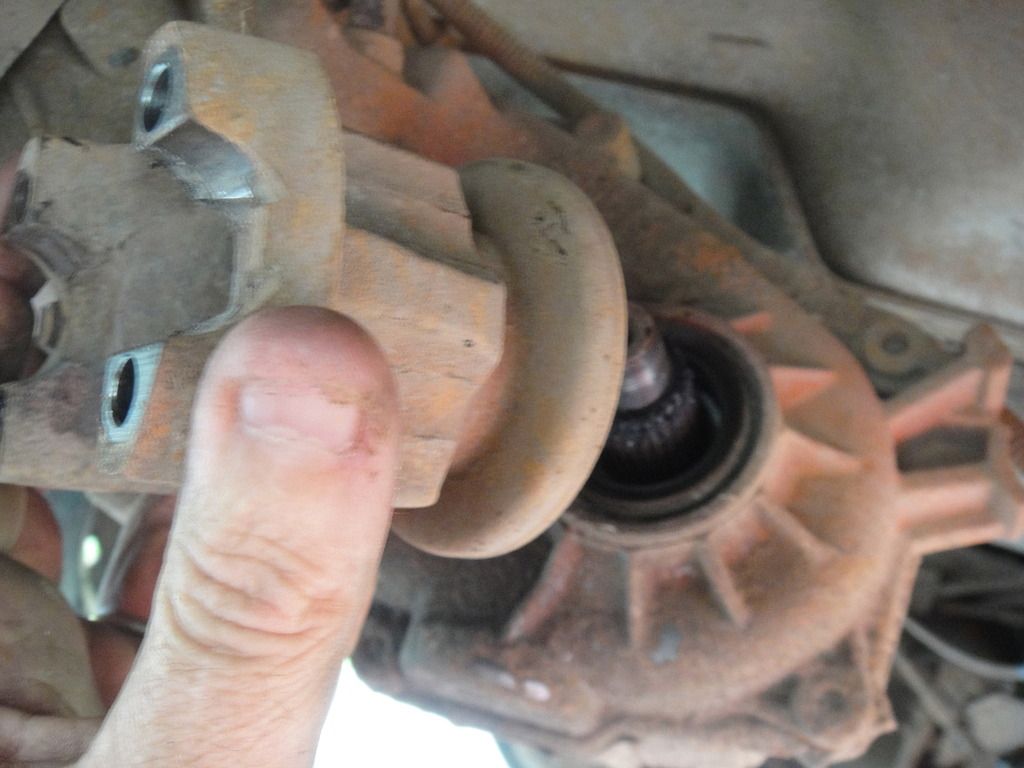
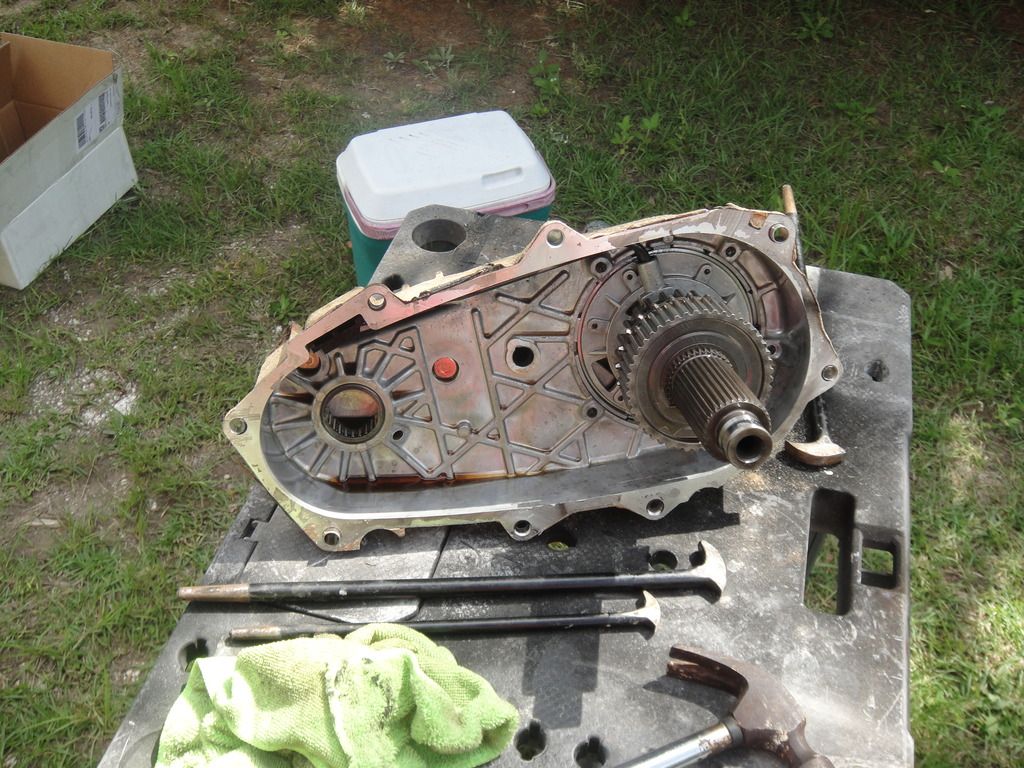
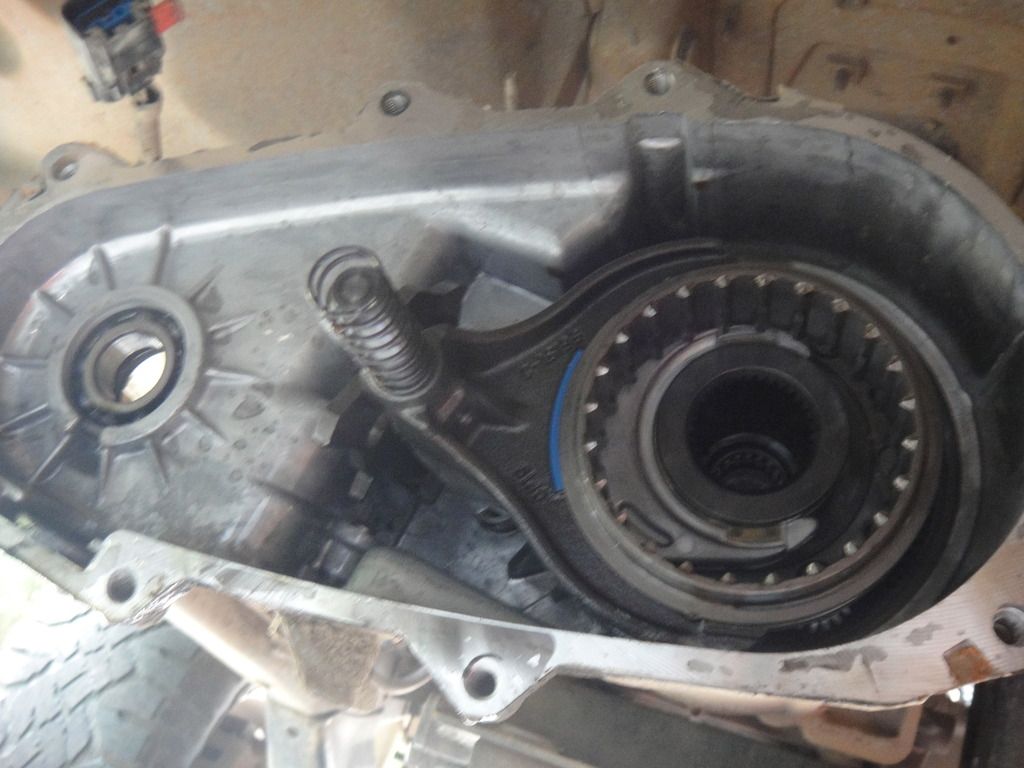
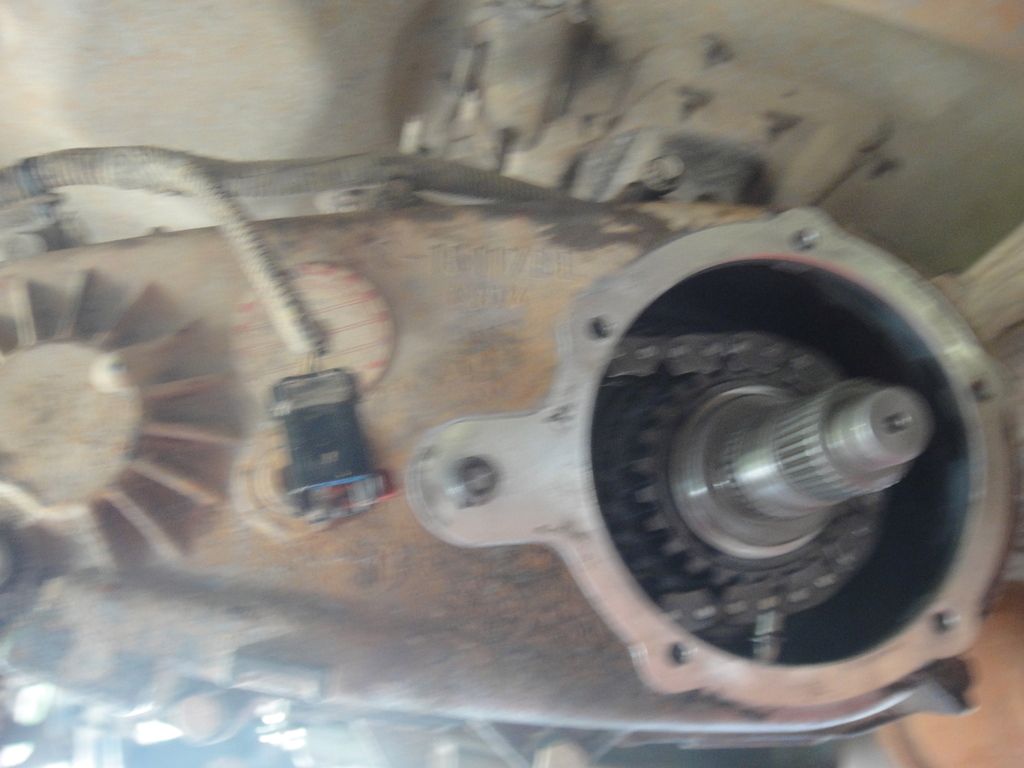
Little bit of prying and this is what you have.
Everything comes out together.(Watch the spring on the shifter rod and the magnet in the bottom of the t-case)
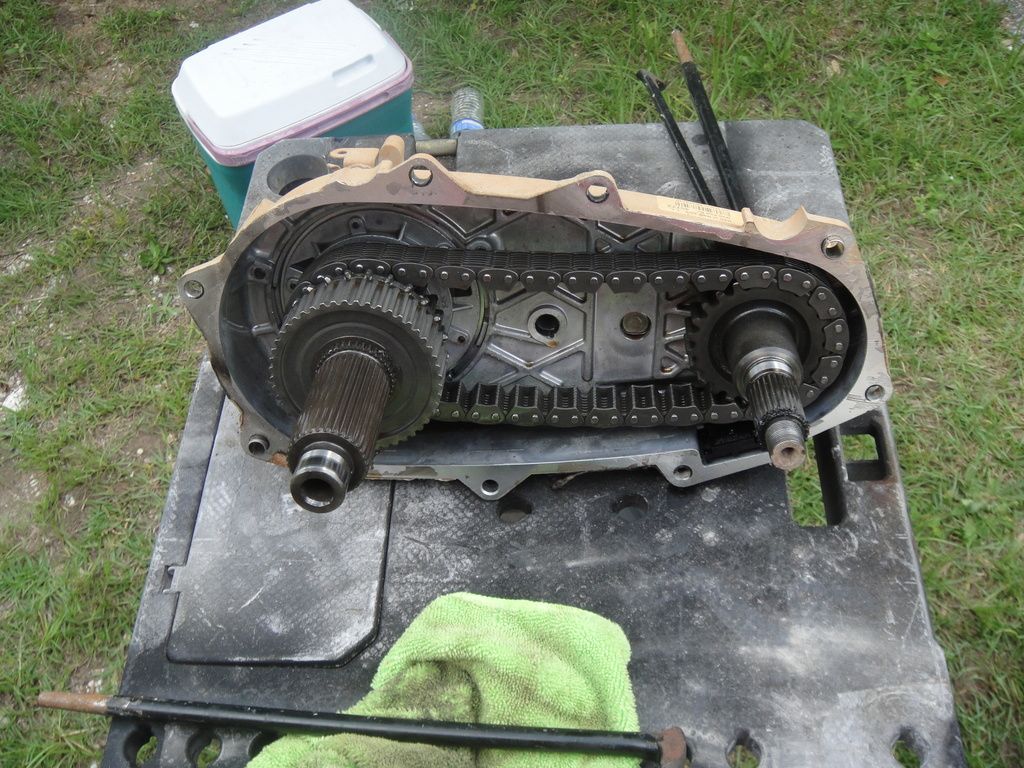
Was amazed at how clean everything was. My TJ has 128000 miles and not junk in the t-case.
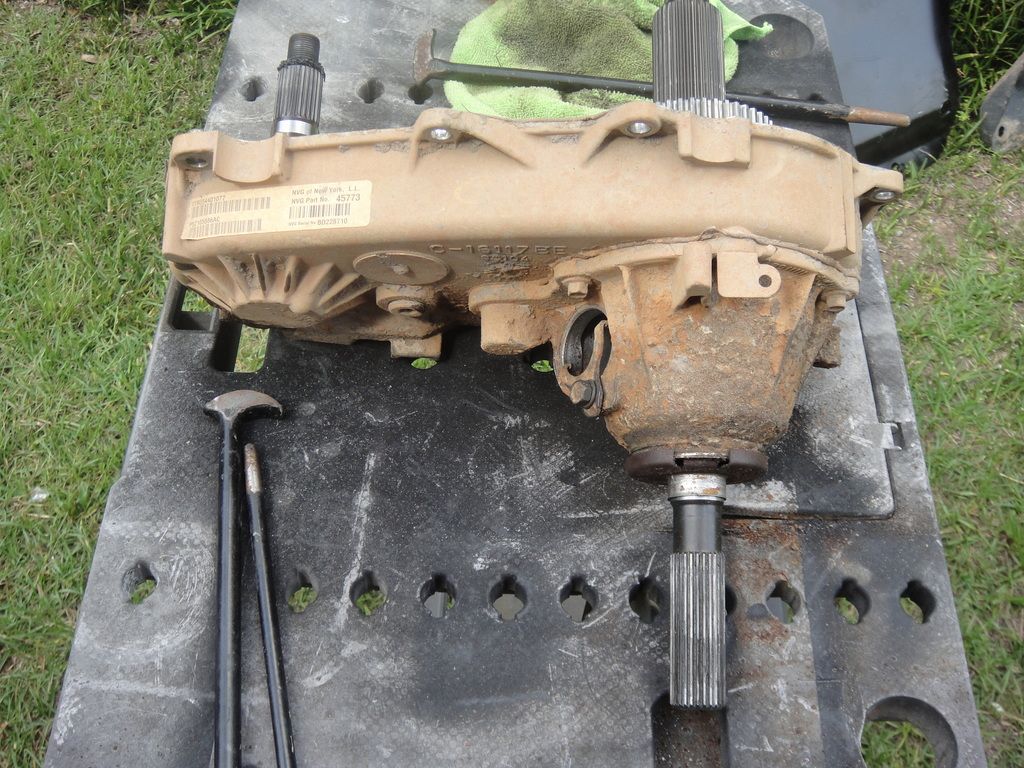
Here is how the back looks.
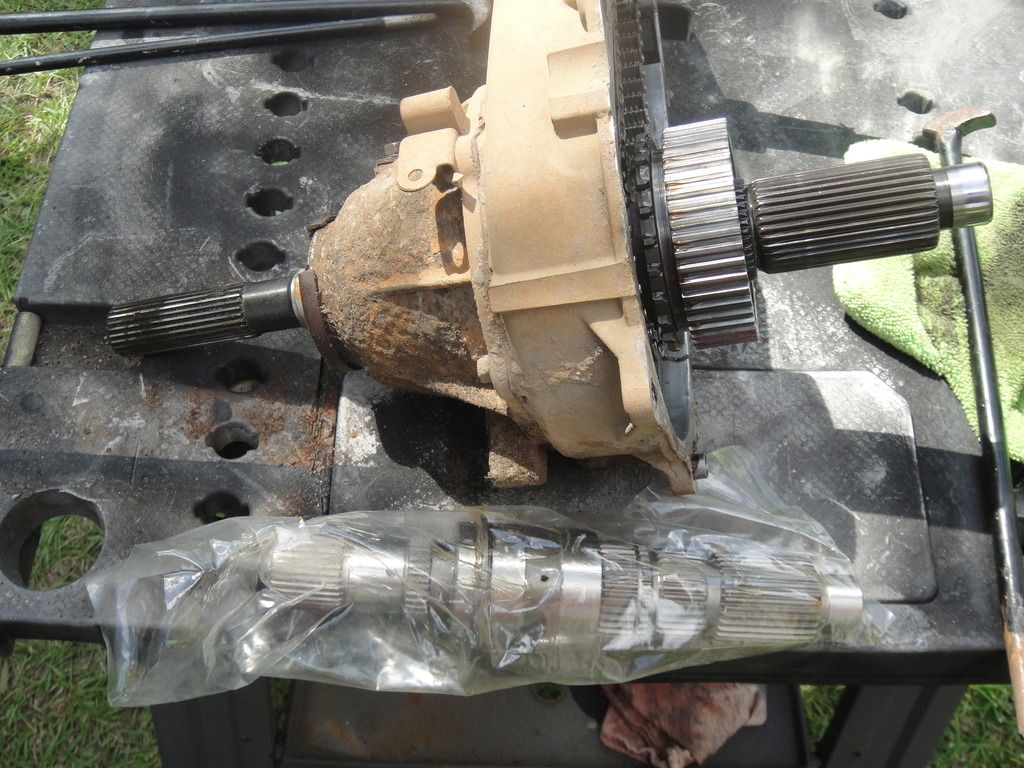
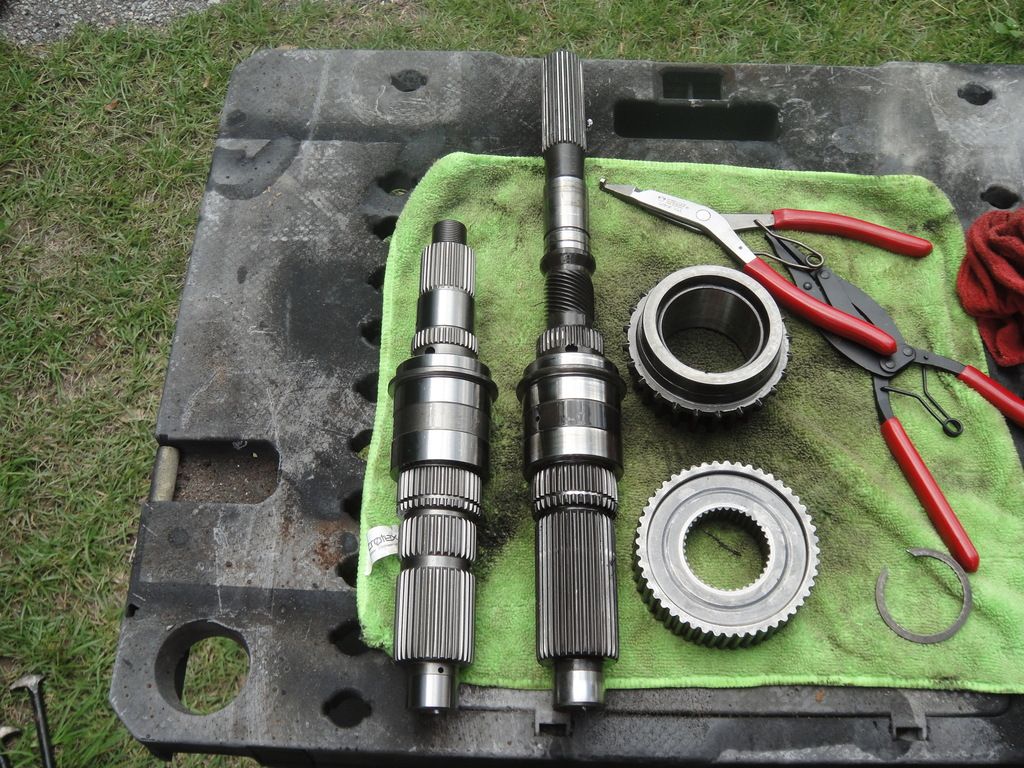
Here is the new short shaft that is going in.
Remove the front shaft and the chain.
Will continue. |
|
|
|
Post by dmurphy on Jun 20, 2015 18:10:56 GMT -6
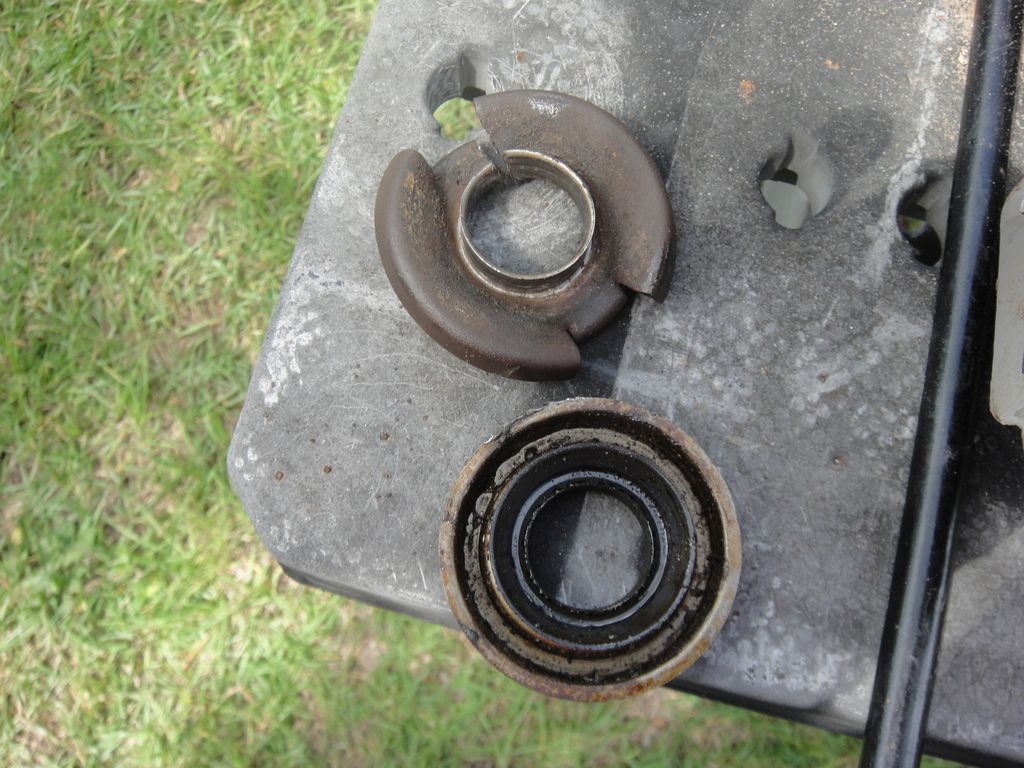
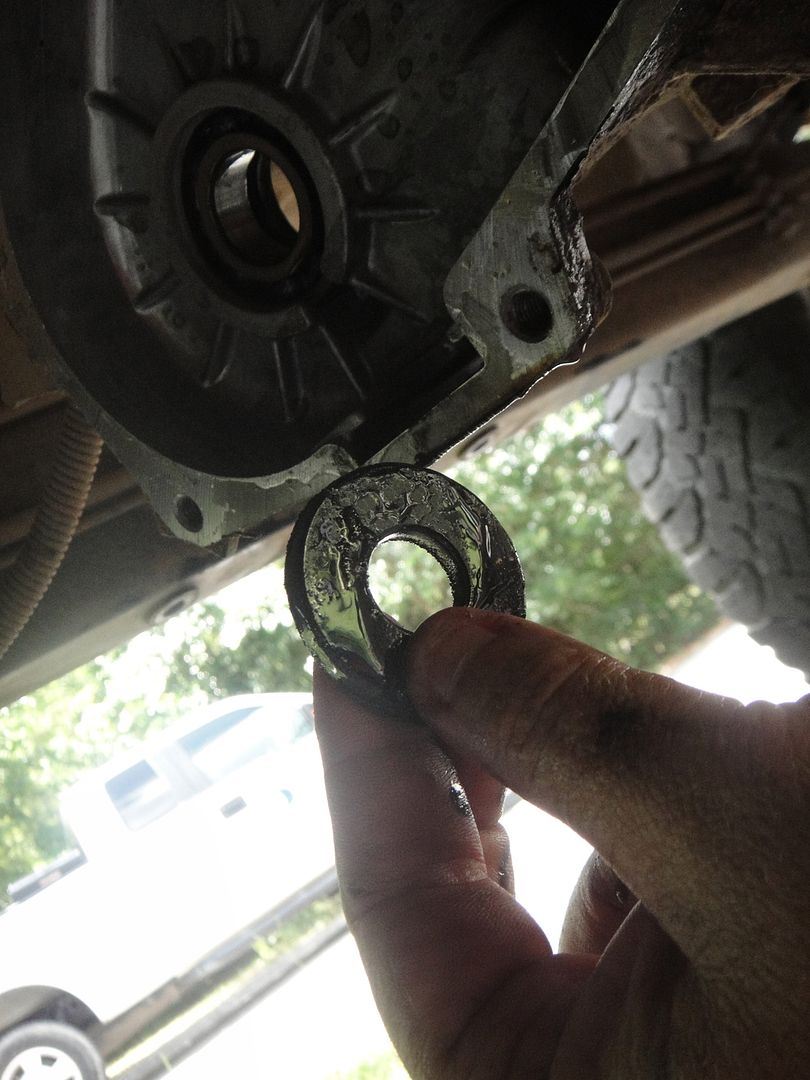
O.K. now to the hardest thing I had today. The rear oil seal.
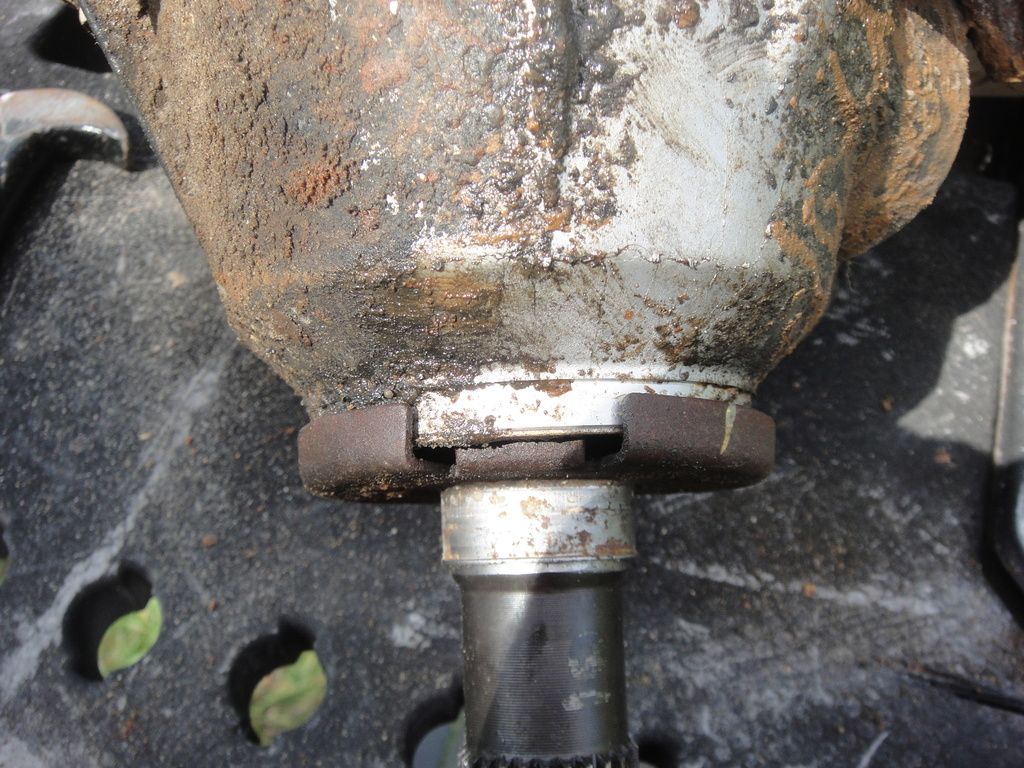
I had to beat the crap out of it and it still would not come off.
Must have egged it. Ended up cutting it with a cutoff wheel.
Turns out this was just the outer part of the seal, Inner part came out no problem
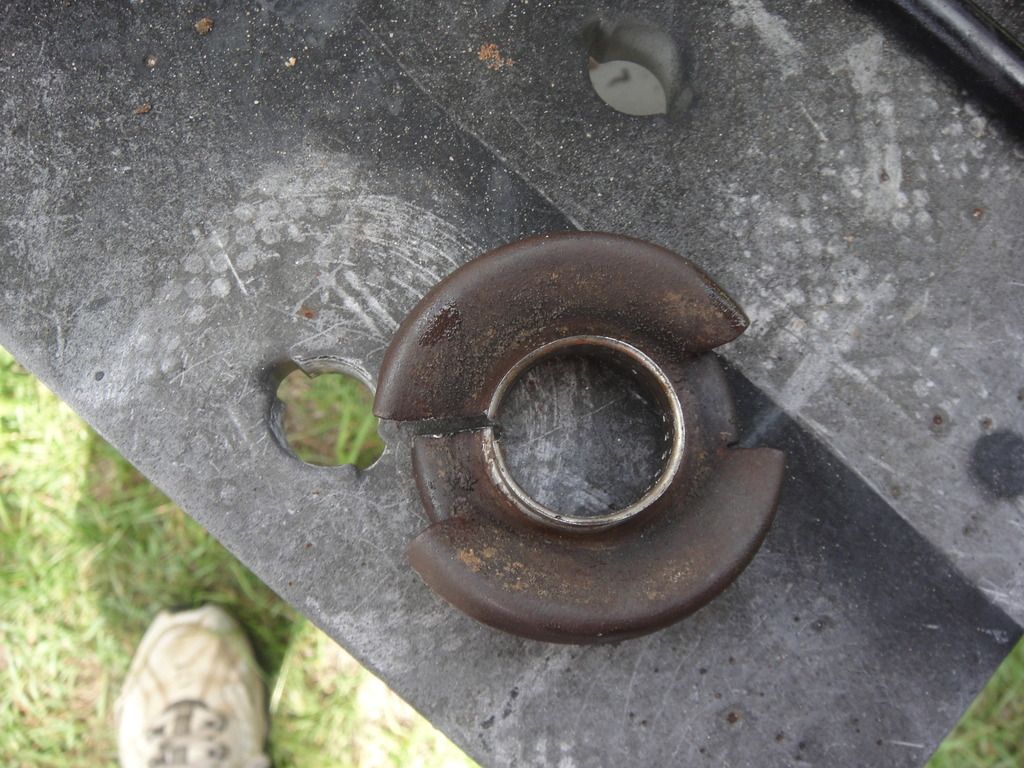
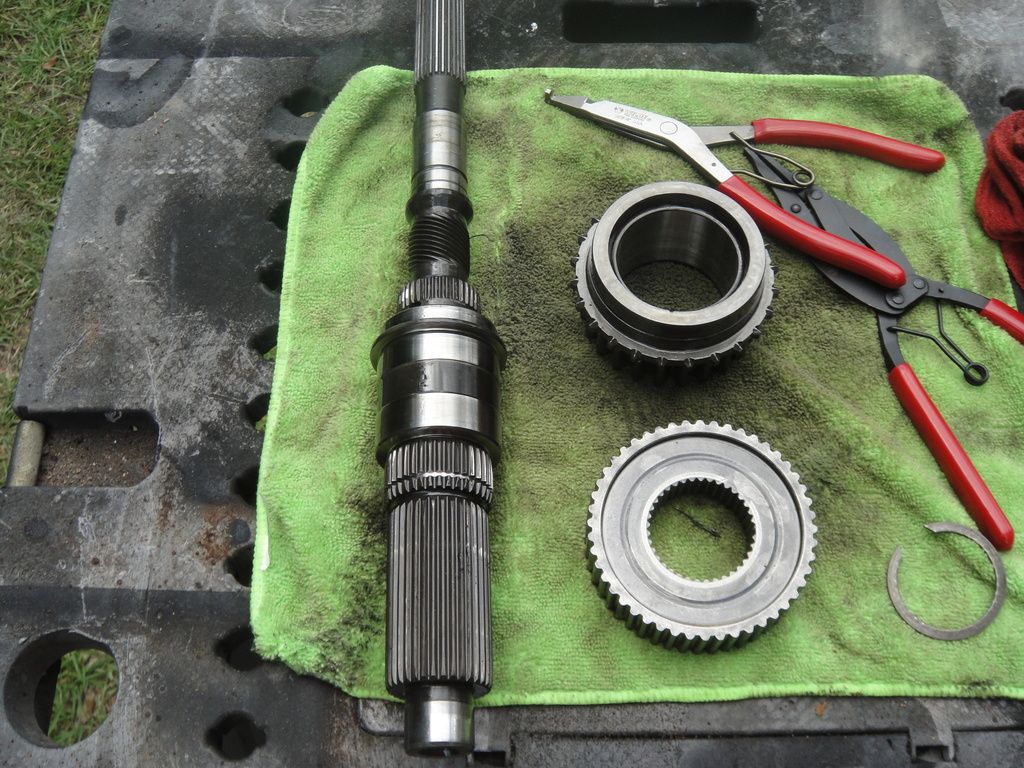
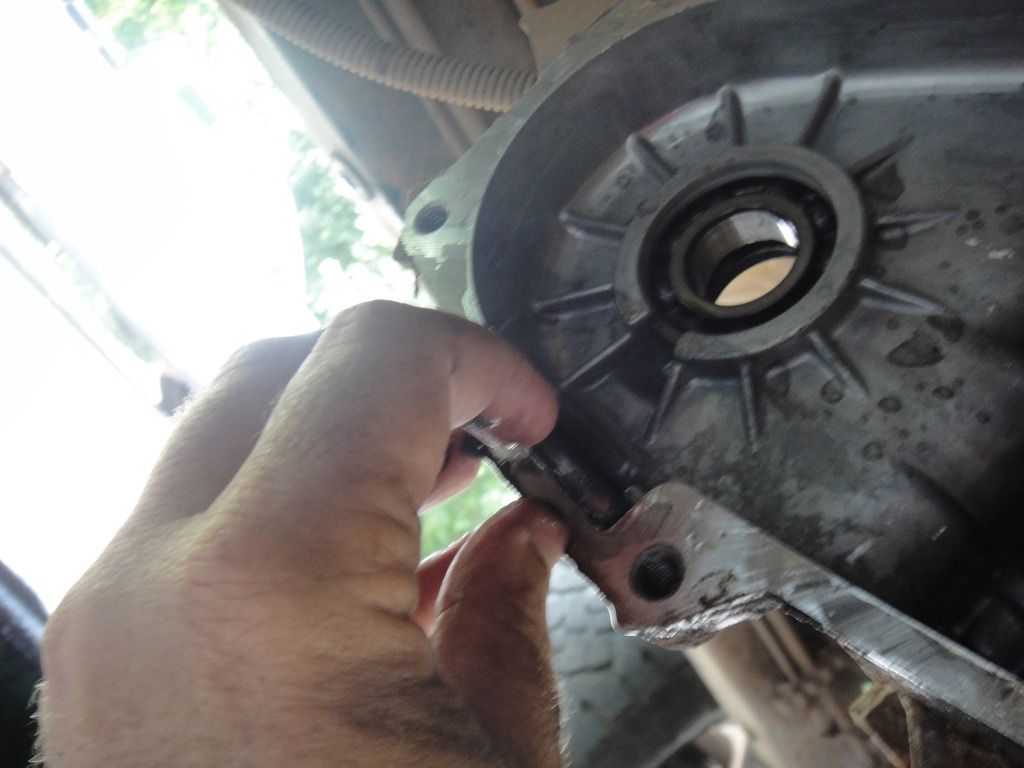
Next was a snap ring. I have heard that these are the hardest part of doing a SYE. So I bought some good pliers and they were no problem. Any body need to borrow them let me know, About $75 of US made pliers here.
You will see two rings. One in the tail shaft housing and the other on the shaft. The one on the shaft is the only one you need to deal with.
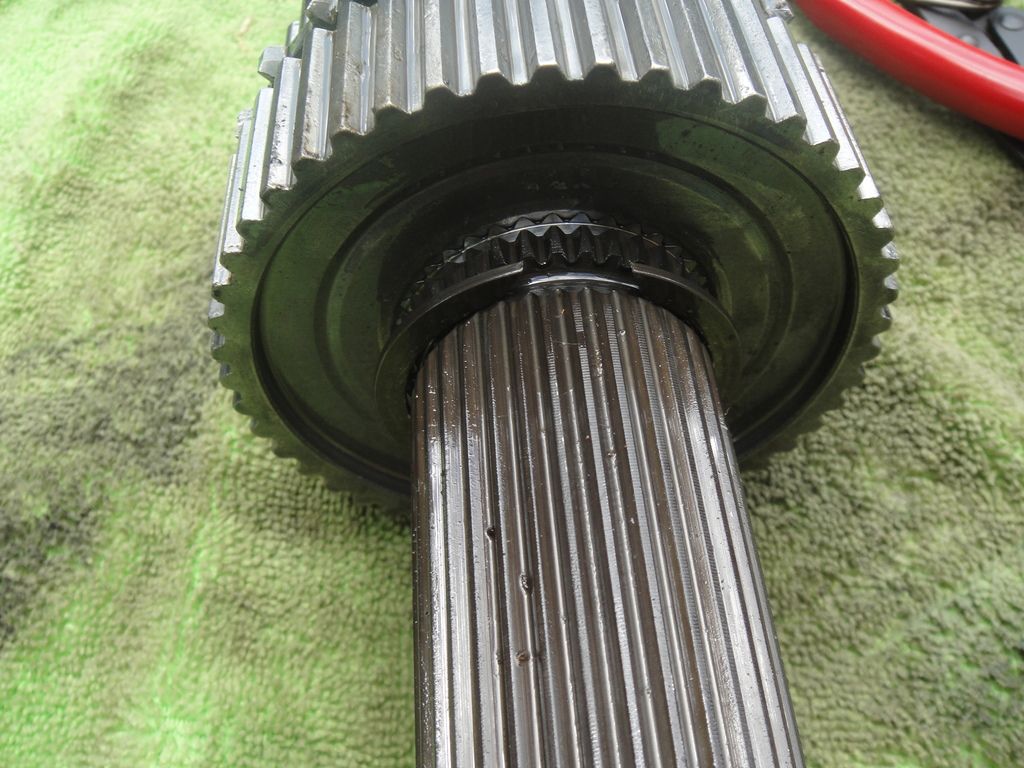
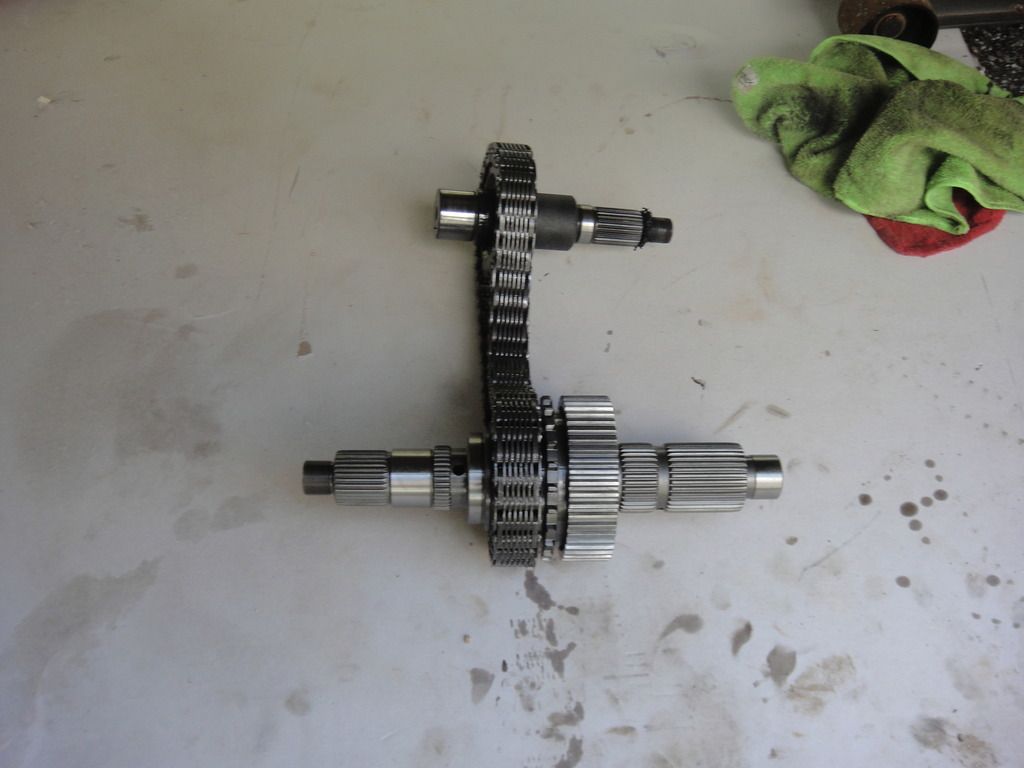
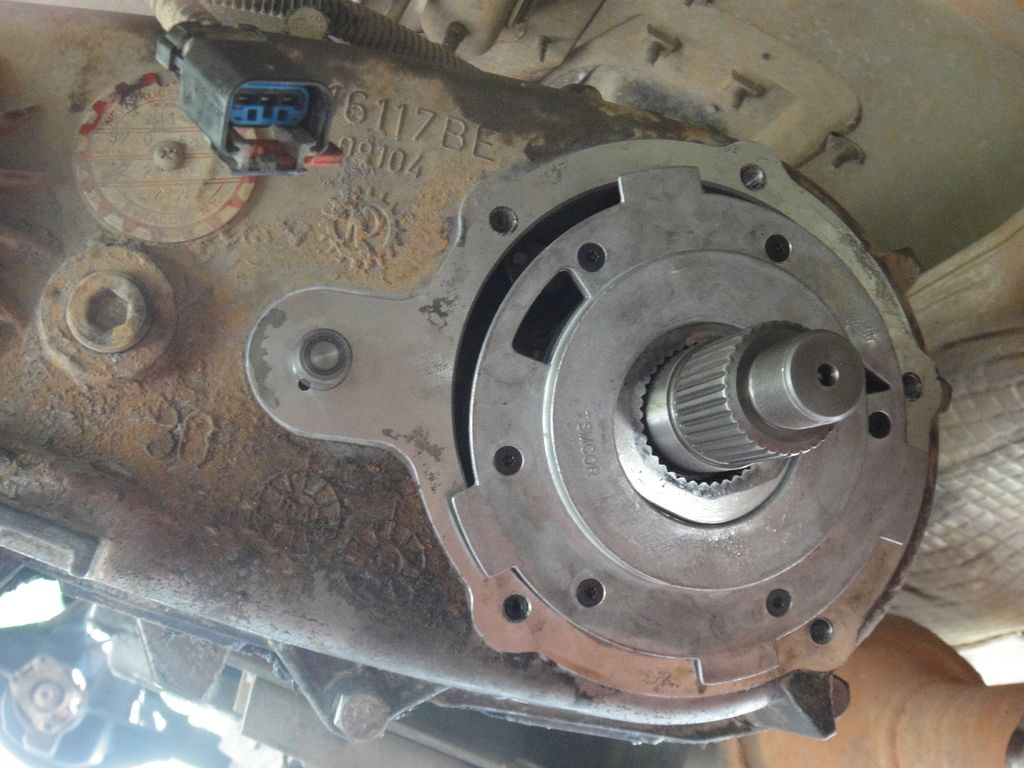
With it out. Here is what you have.
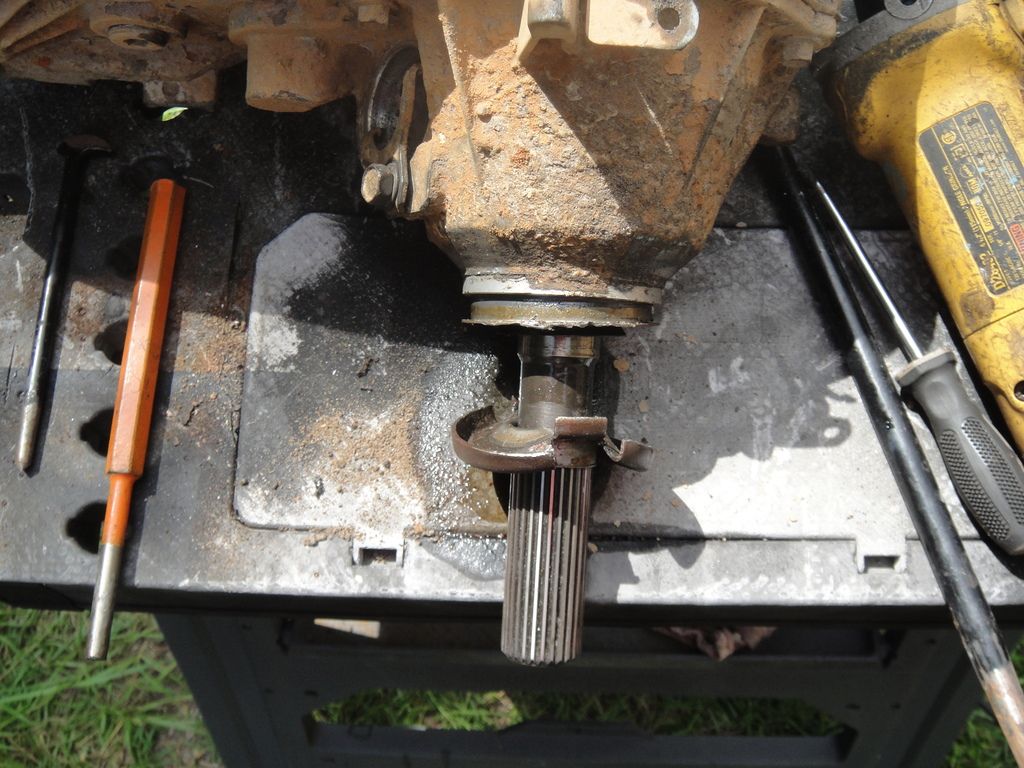
With the one snap ring out you can separate the rear tail shaft. No problem 13mm socket.
With the rear tail housing off you can pull the shaft out.
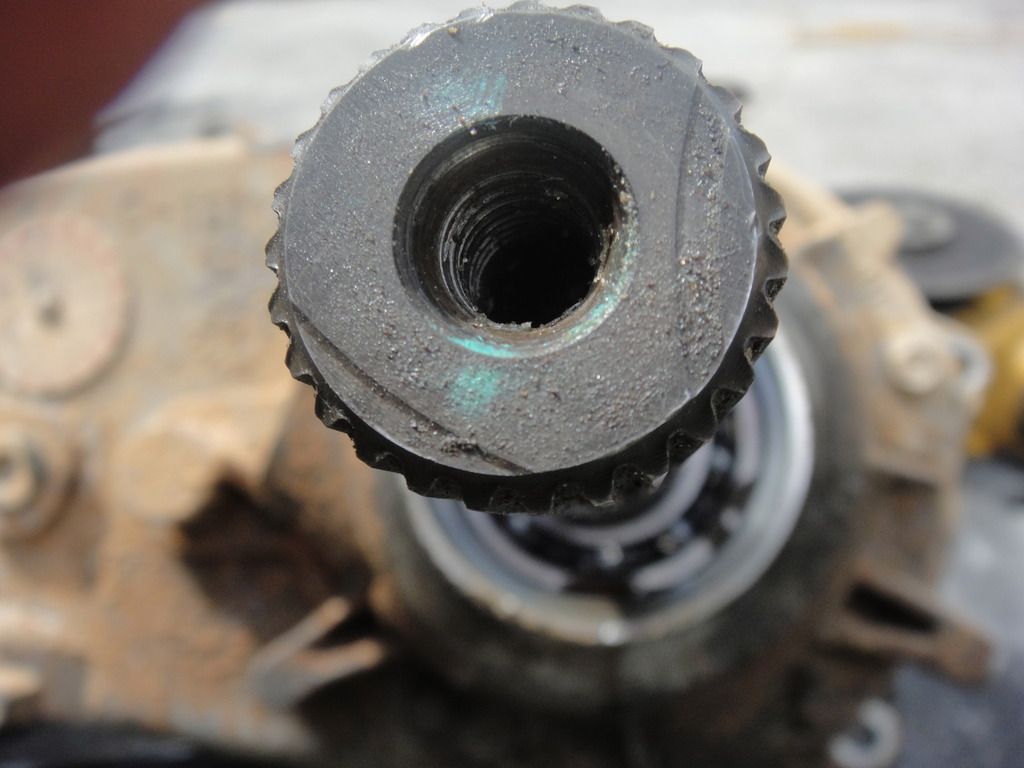
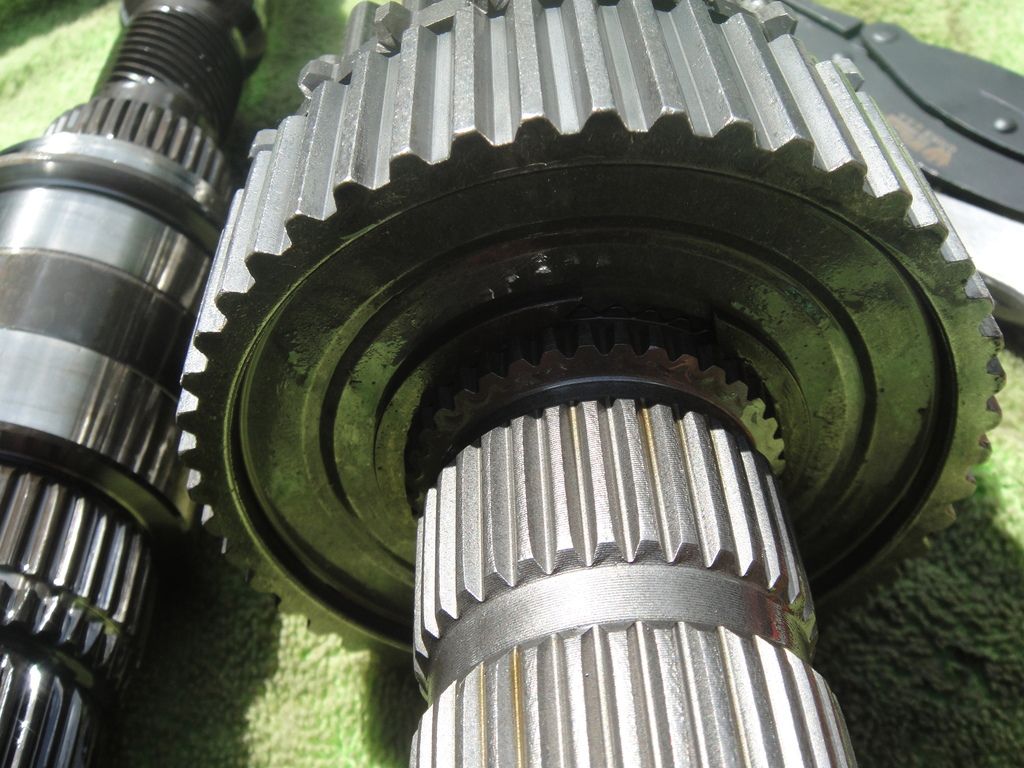
Then the last snap ring you have to deal with. Once this one is off pay attention to how the parts come apart.
Better look at how much shorter this is going to be.
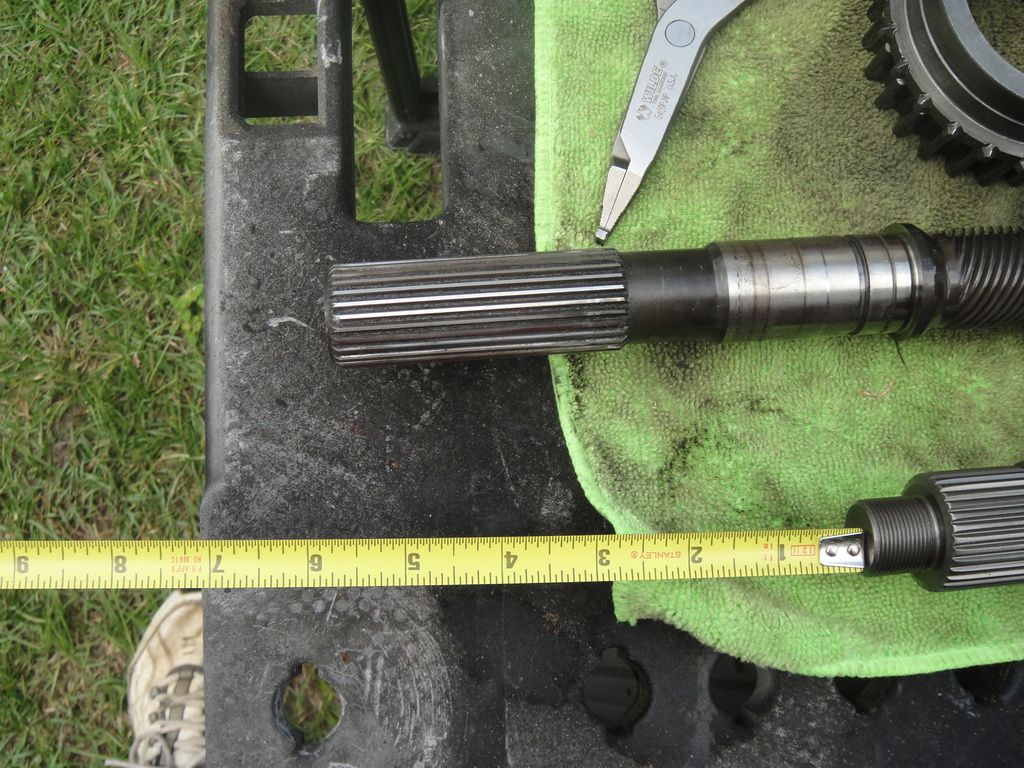
Looks like 6" shorter.
Put the short shaft back together like stock.
Now we are ready to go back together.
Continued..
|
|
|
|
Post by dmurphy on Jun 20, 2015 18:48:28 GMT -6
This is what is under the Jeep. The clutch fork will move up and down. You will need to center it while putting the shaft back together.
Here is the magnet that fits in the t-slot you can see behind it. Make sure this is in while going back together.
Then put the two shafts back with the chain.
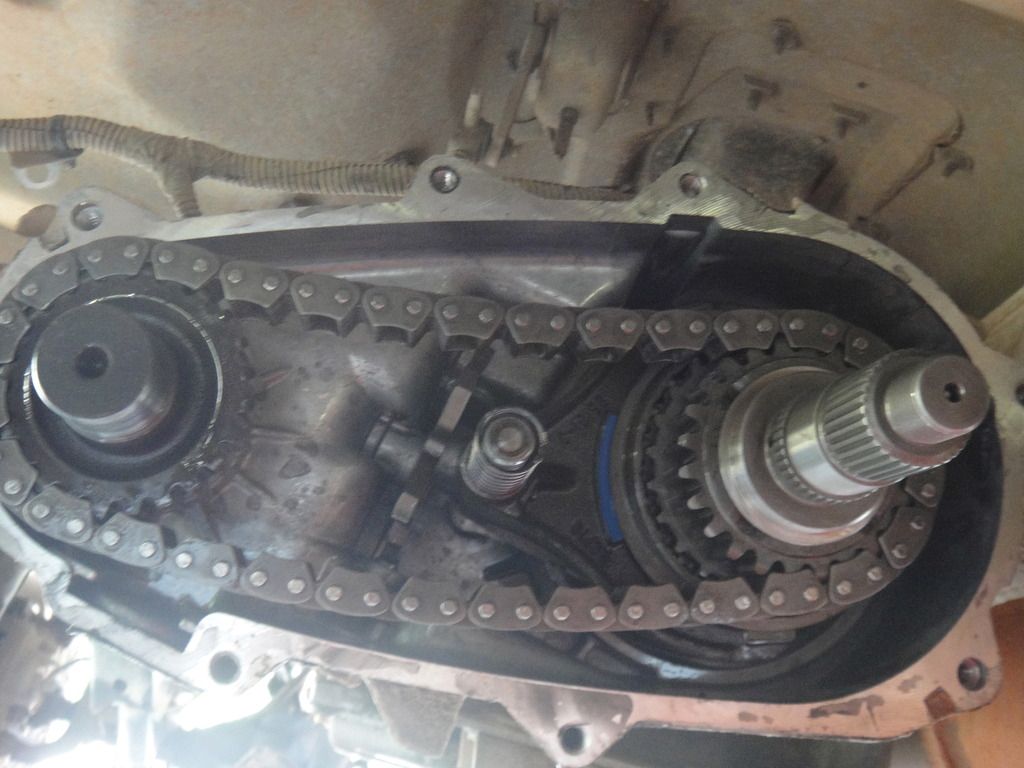
I will say that you need to pay attention to 2 things here. First is the spring on the shifter linkage. I had no problem with it, but the other thing is the oil pump. The oil pump needs to go with the case the half. It will be on the back of the shaft, But will not go on once the rear half is bolted up.
this is the first time I put it together. No oil pump,
This is the way it should look.
The oil pump is all I have to say.
Here is the rear cover. Leave it loose till the yoke is in place.
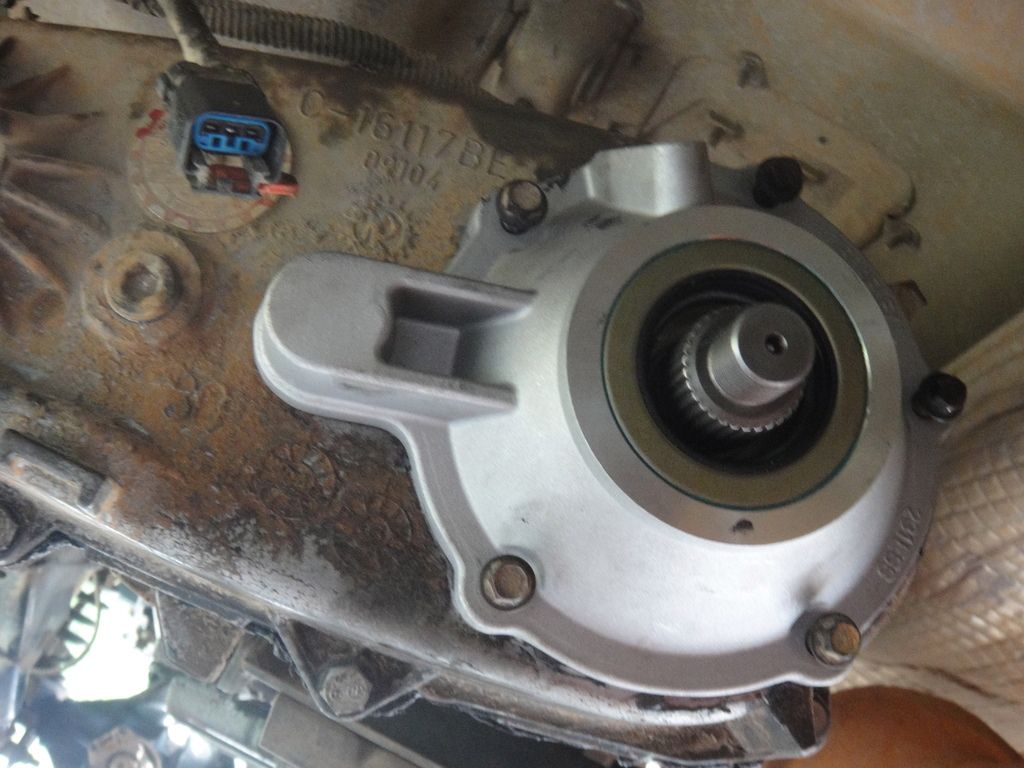
Rear yoke on. Notice there are no bolts for the rear shaft. I have left word that I want a 20" rear drive shaft. Once it comes in I will need to remove the rear yoke and put the bolts in. They will not go like it is.
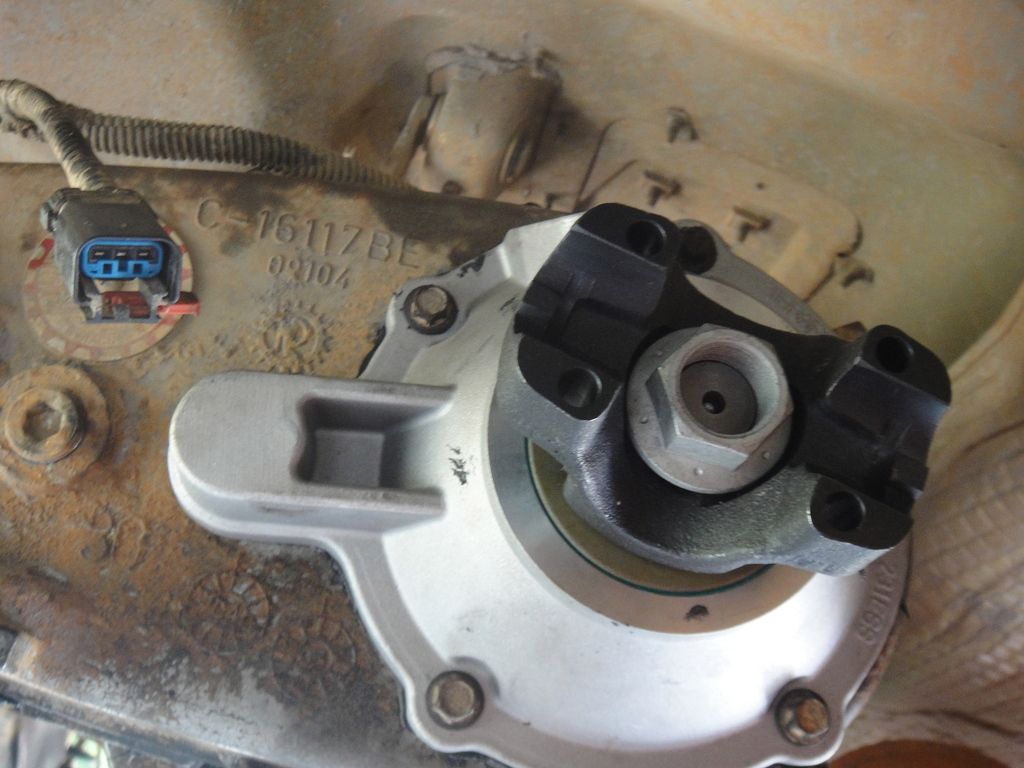
That finishes up the SYE install. Now to the Novak cable shifter. |
|
mpja
New Member
Posts: 45
|
Post by mpja on Jun 20, 2015 18:57:45 GMT -6
Awesome write up. Great job.
|
|
|
|
Post by dmurphy on Jun 20, 2015 19:26:17 GMT -6
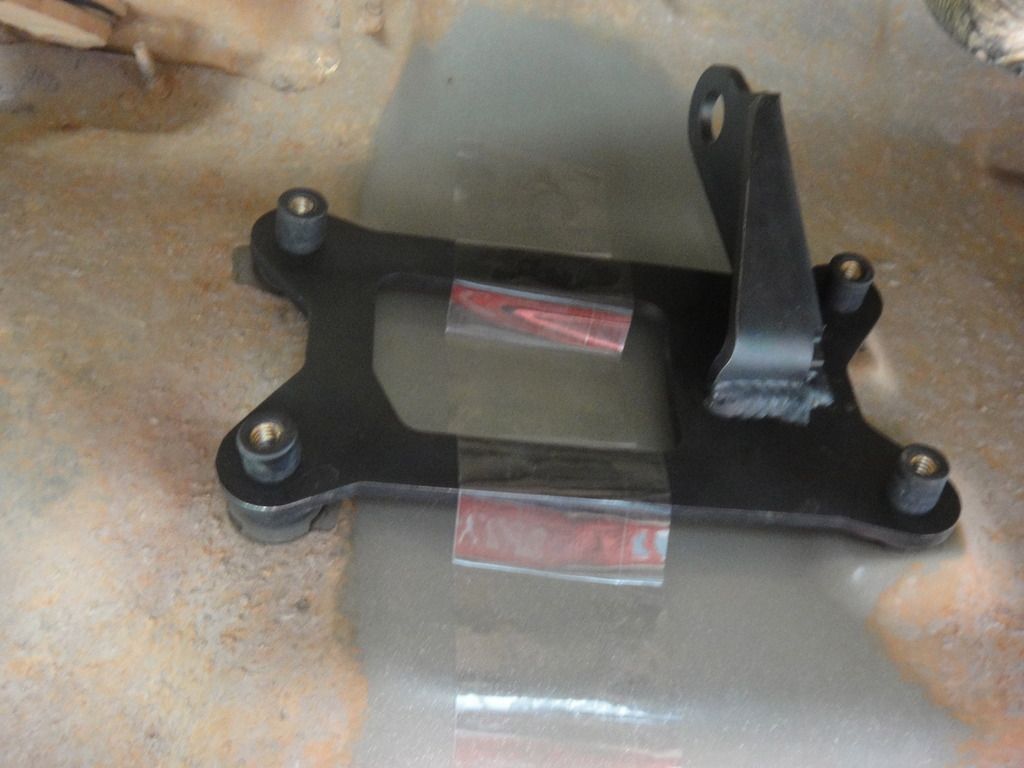
Novak Cable shifter. O.K. instructions.

Once I started to take off what I had under the Jeep, It was way different than the stock photos I was seeing.
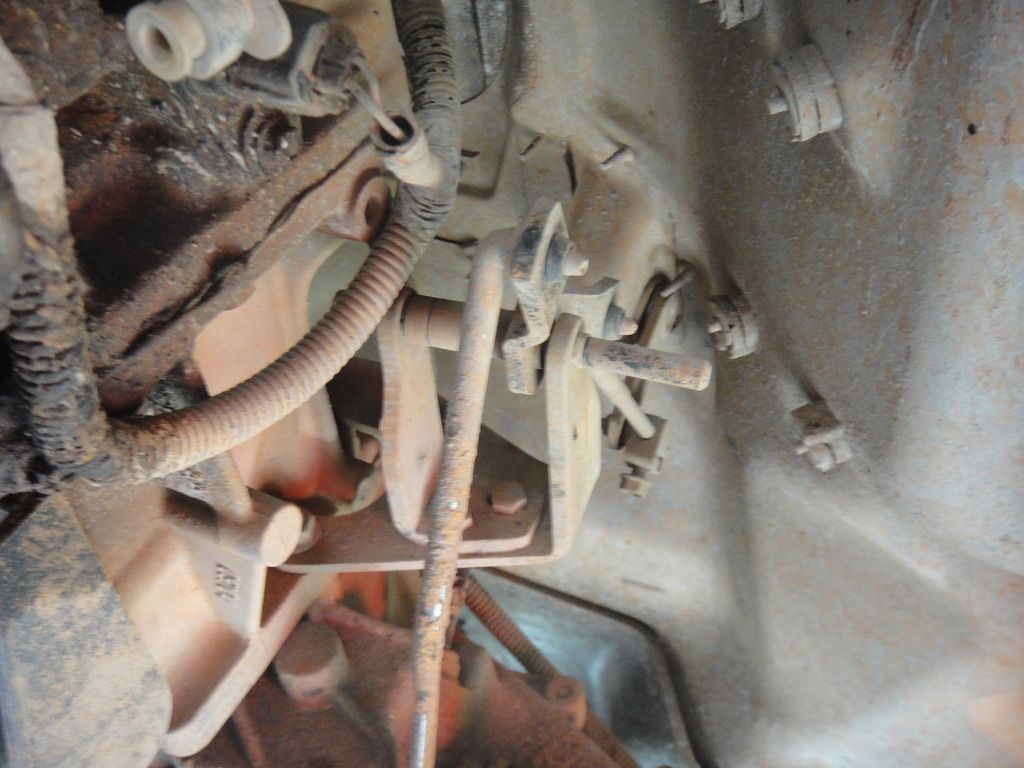
Then I see it.
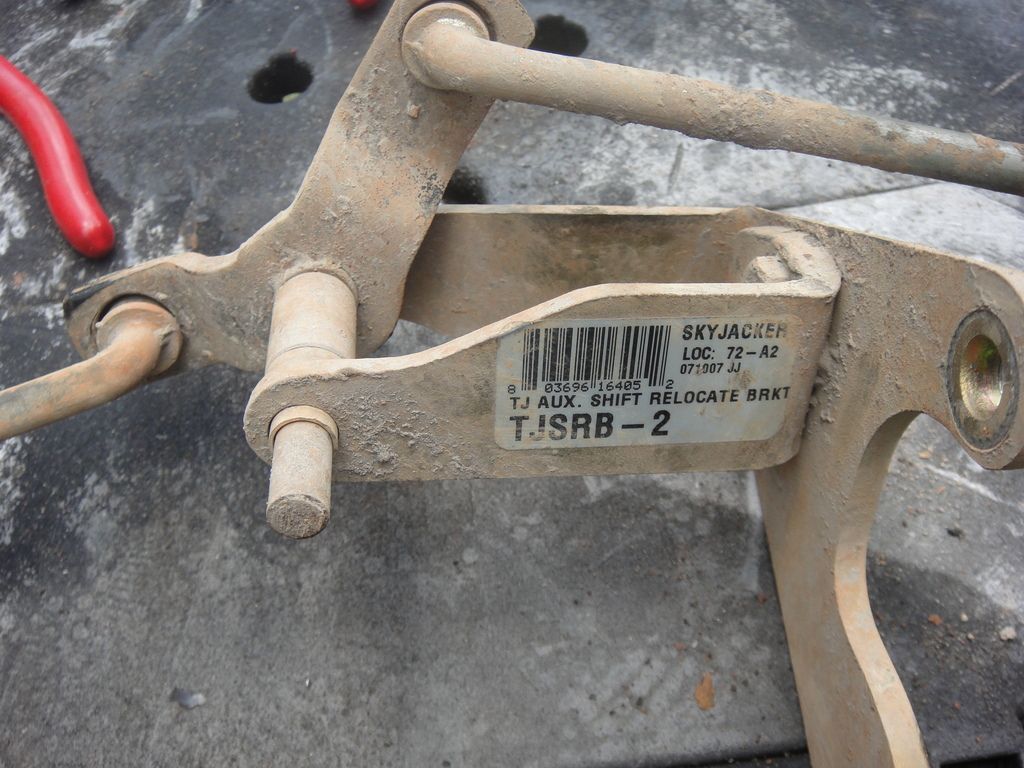
Looks like it already had a Skyjaker upgrade. Another swap meet part.
So remove all the linkage. Including the linkage on the t-case.
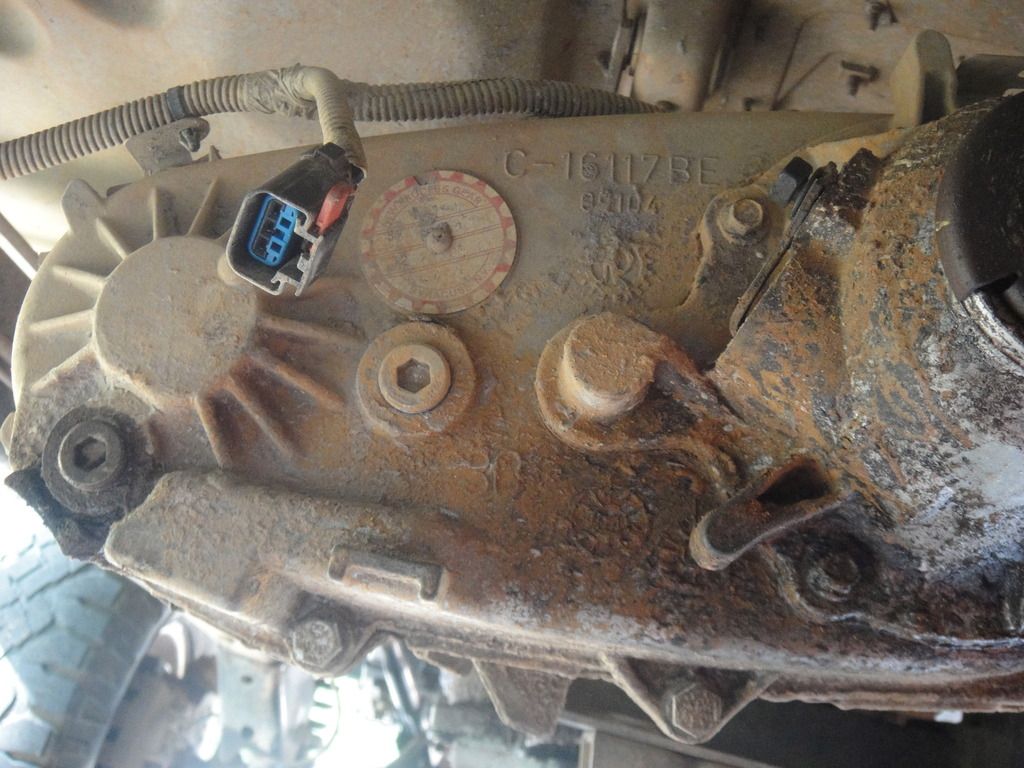
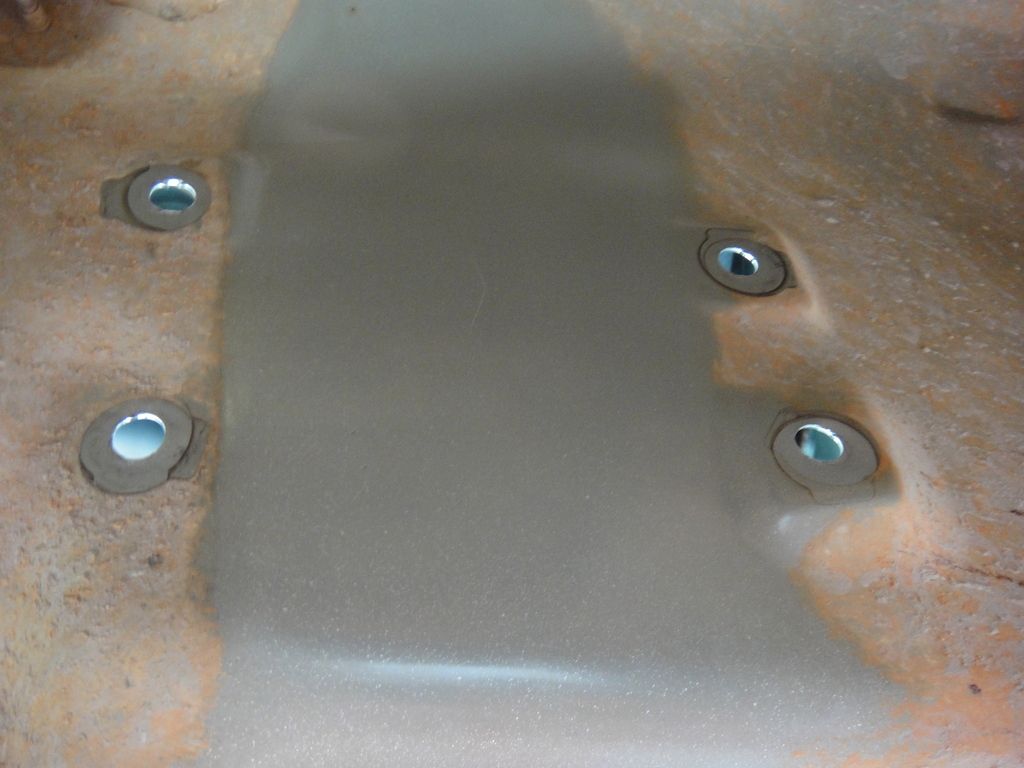
These 4 bolts need to come out. You will also need to remove everything from the t-case(2 14 mm bolts.) plus pry off what ever is stock on the shift lever.
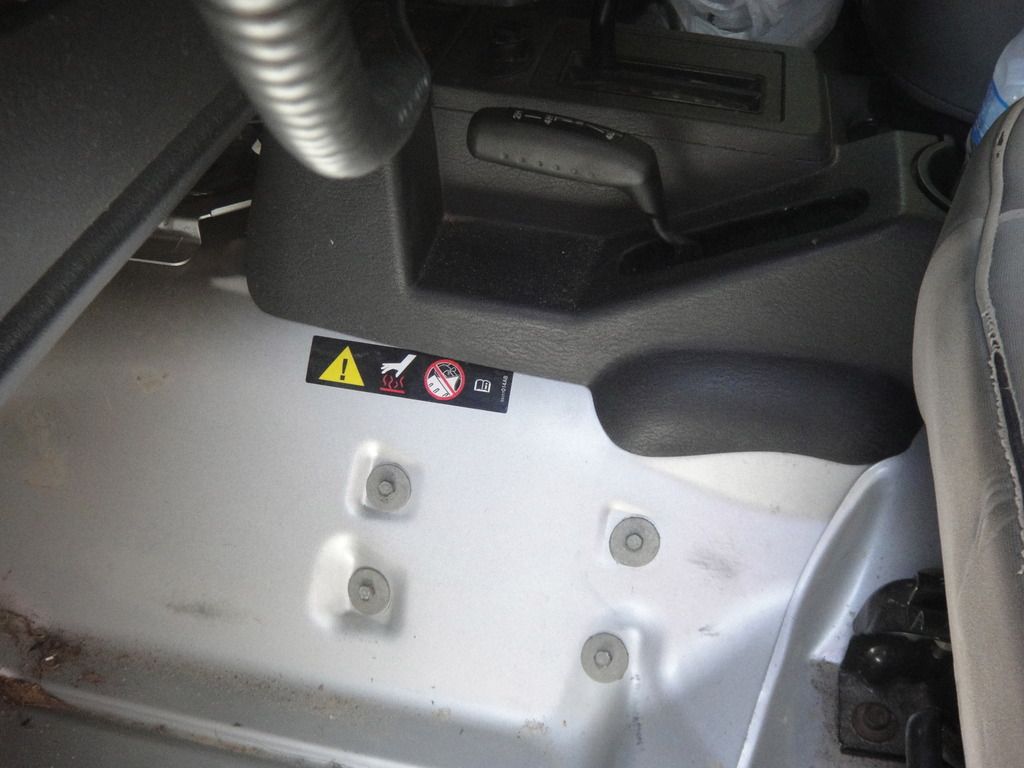
This is looking from under the Jeep. Clean it so tape will stick.
If you have help you will not need to do this.
4 bolts from the inside. No Problem.
T-case bracket goes just like stock.
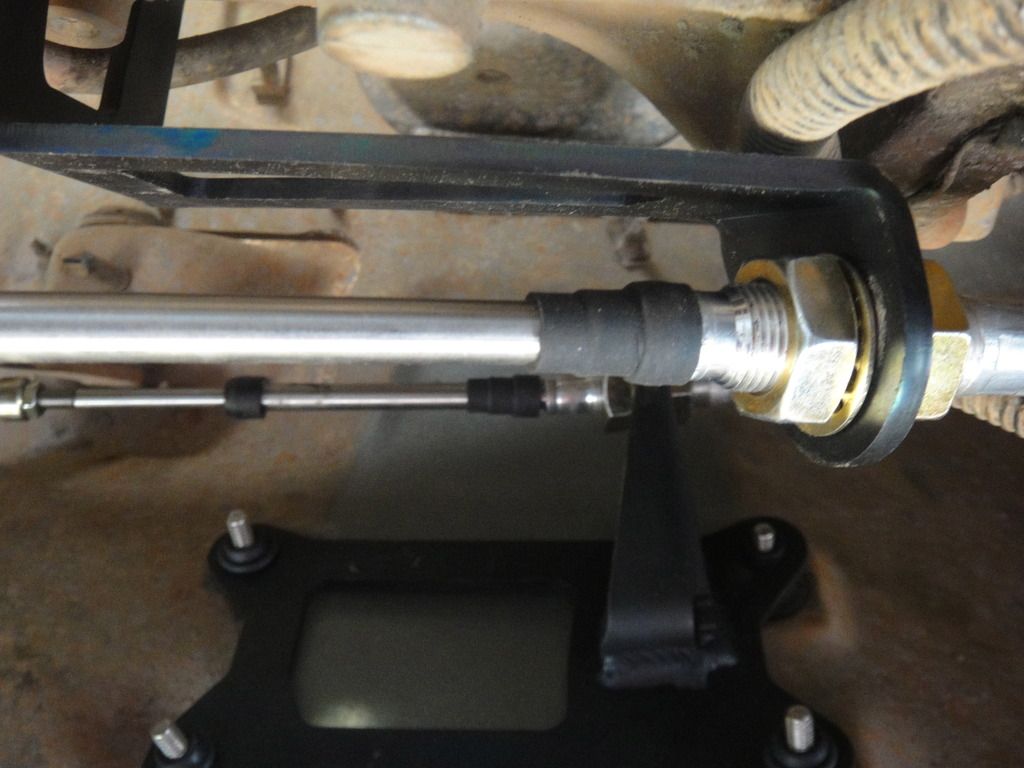
Then put the cable in.
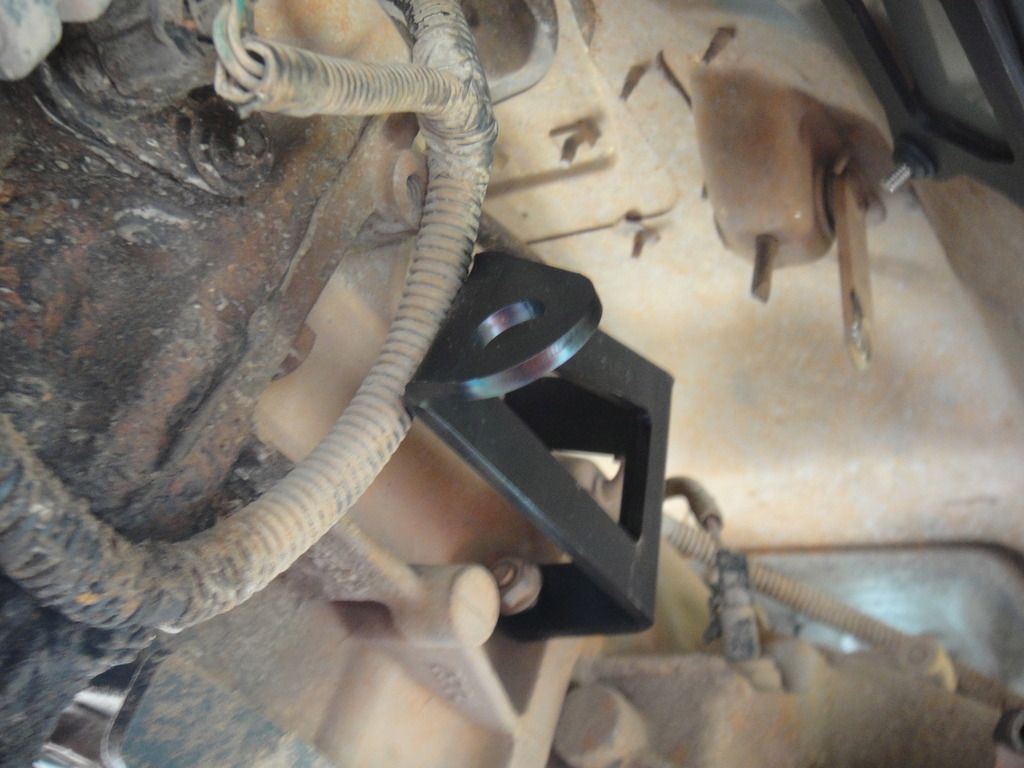
Here is the new t-case attachment. I found it best to leave this loose. It is the easiest to get to. Make most of you adjustment here.
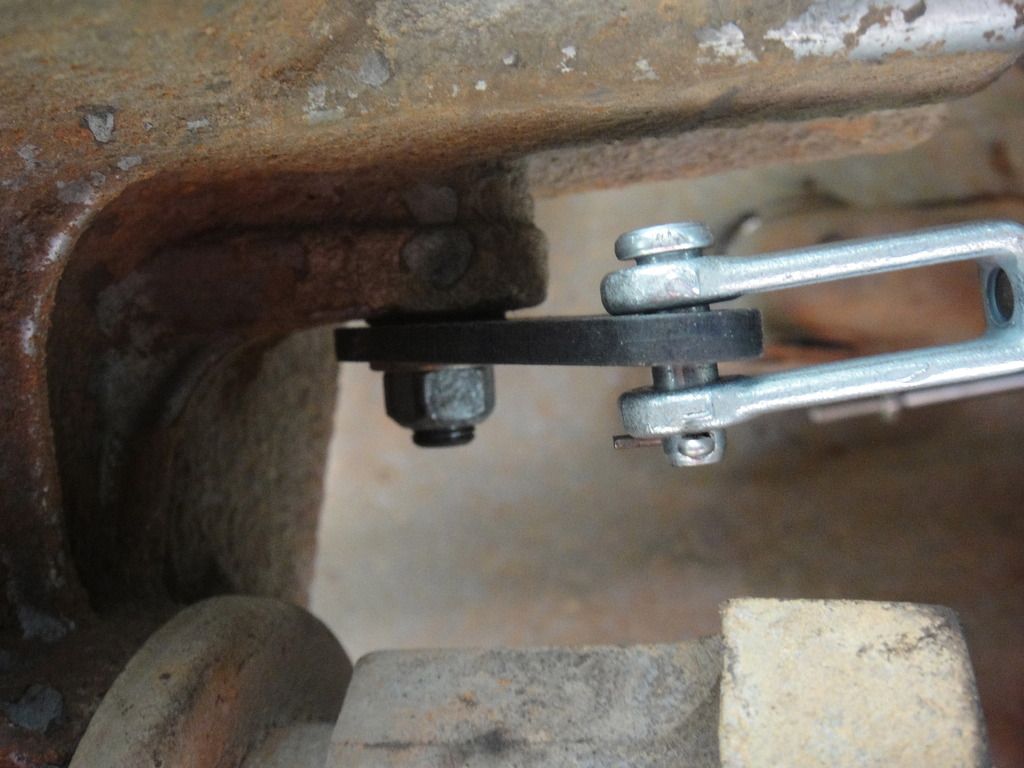
My mount to the shifter still ahs a little play. Will see if this is an issue.
Took about 20 minutes to get all the shifts right. Go from 2hi to 4hi to neutral to 4low. Make small adjustments. You have 4 places to make them so it should go O.K..
Sorry it got very hot about now and I wanted to be done. The rest of the steps have some photo's of the hi points.
Put the front shaft back in.
Fill her full of fluid. (2 quarts of ATF)
Put the new skid on. Just 6 bolts to frame the 4 to tranny mount.
Had to bull pin 2 holes. If nothing is tight everything should move O.K.. Top of transmission is very close to tub. Like 1/4". Nothing in the way jacking transmission up. Jack about an inch at a time. Was lifting the front of the jeep about a 1 1/2" when done.
Need to get some shorter bolts for skid. Then once Rear Shaft comes in remove rear yoke, Put bolts in, Then attach rear shaft. Will need to lengthen rear upper control arms to get the shaft to align.
With what I have done it should not be a problem for you to do this.
What tools did I use on this?
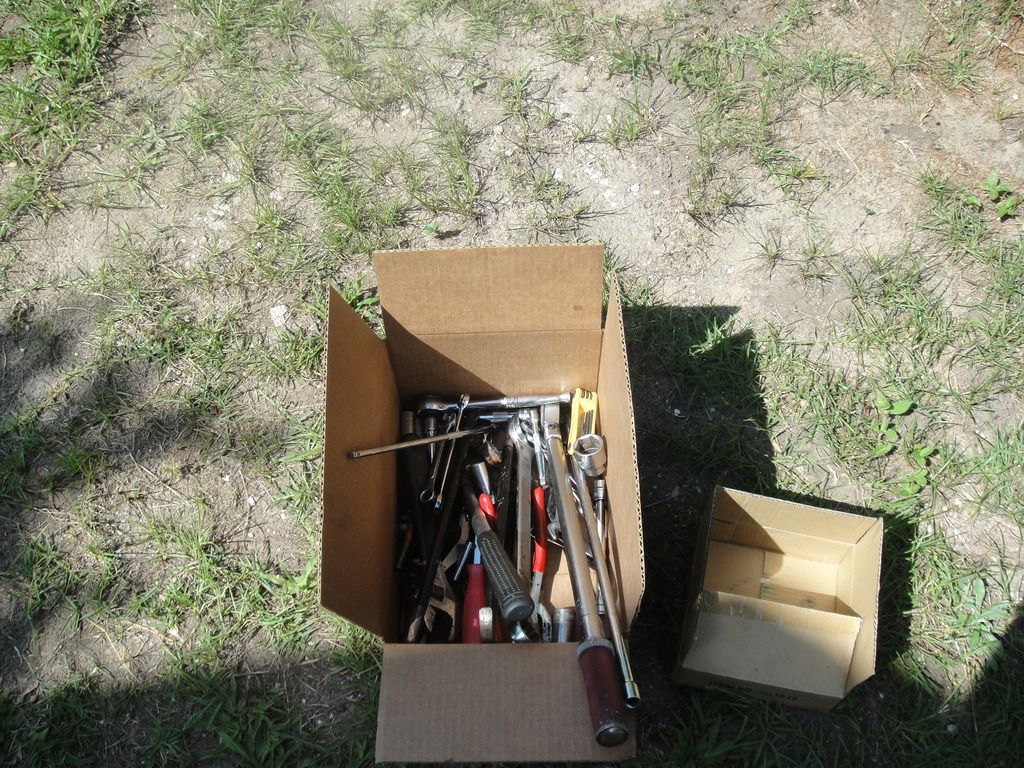
Power tools you ask. Yes I used an Impact and a Grinder.
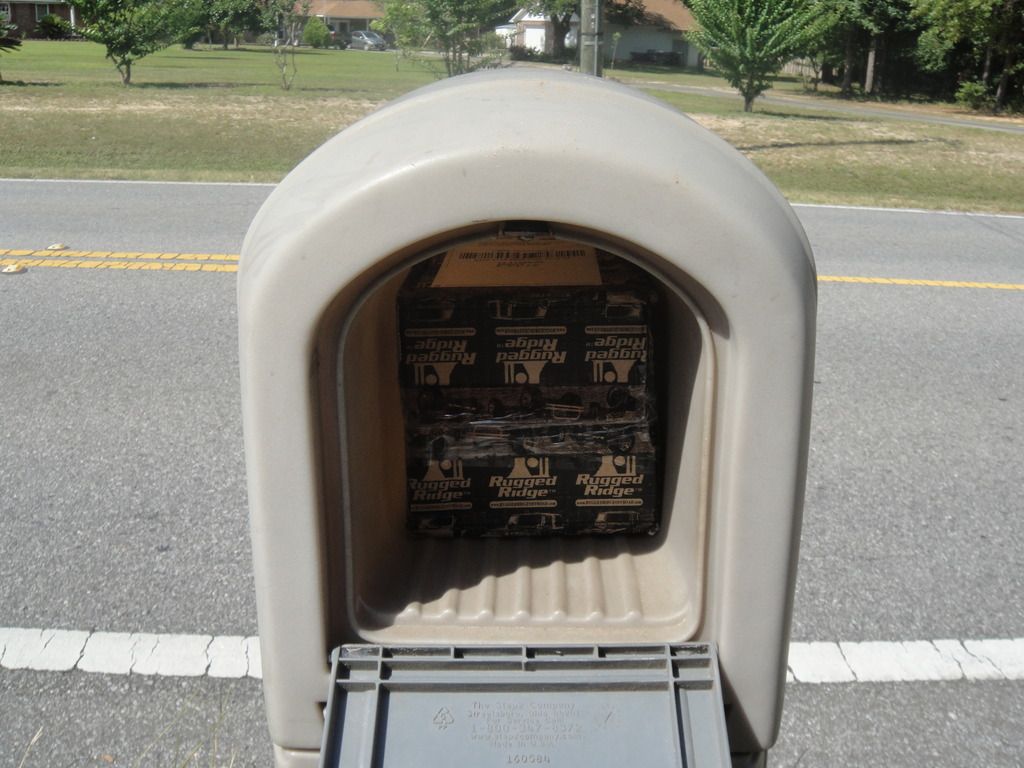
Oops, Got to go. Looks like the mail lady just got here. I wonder what she has?
|
|
|
|
Post by dmurphy on Jun 20, 2015 19:45:46 GMT -6
After doing this. There will no longer be any gears for the speedo drive. Looks like I lucked out, With the 33"s and 3.73 ratios it is very close to right on the speedo. Will have to see what happens. Was planning on going with 35"'s. But after the trip to Mobile Swamp with Joe and Kenny I thing I will stick with the 33's. Filled up on the way home, And I was getting way better mileage that them.
|
|
|
|
Post by dmurphy on Jun 20, 2015 19:49:57 GMT -6
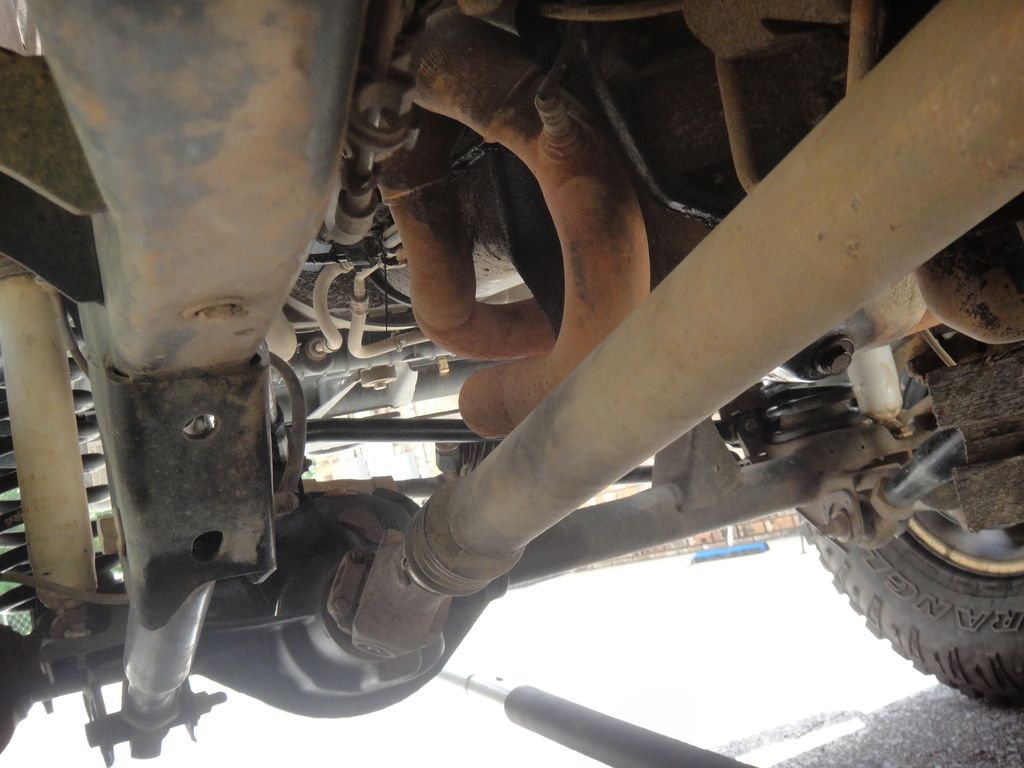
Did not show what she looks like now.
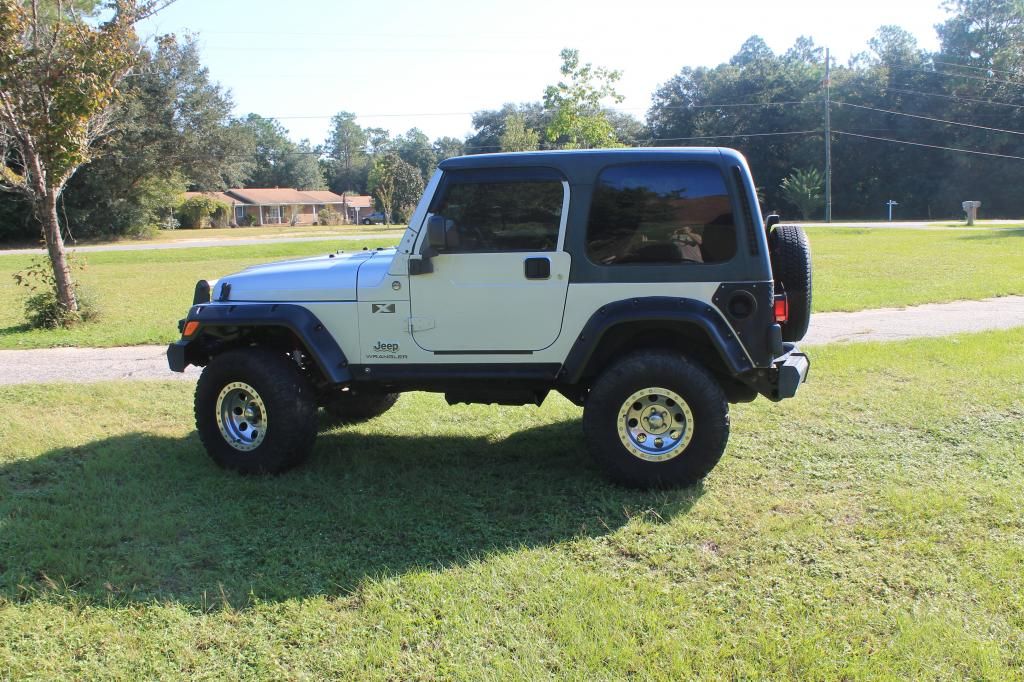
This is what I got. See how far the skid hangs down.
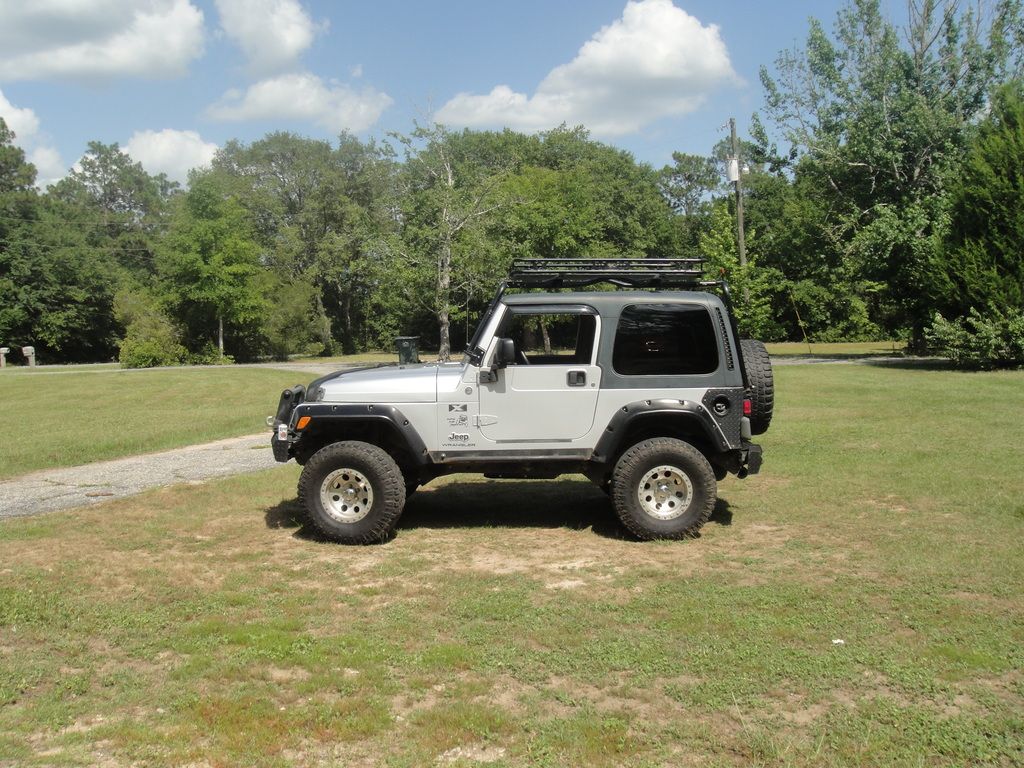
About the same place. See how much higher the skid is.
|
|
|
|
Post by dmurphy on Jun 20, 2015 19:51:50 GMT -6
UCF is having a Fathers day sale. 15% off. I am going to get an engine skid for her. Should be in next week. Will post up what it looks like.
|
|
Dirt
New Member
Posts: 8
|
Post by Dirt on Jun 21, 2015 6:50:03 GMT -6
nice job!
The before and after pics speak volumes!
|
|
|
|
Post by dmurphy on Jun 24, 2015 18:49:54 GMT -6
O.k. been riding around on the fronts for the week. Rear drive shaft is on it way, along with the engine skid. Skid will be here this weekend. Drive shaft is going to be here on Monday.
I think I have found out why the stock skid has that shovel on it. The t-case has no external cooling, Is right behind the transmission(My case is running 165 degrees) and close to the cat and exhaust. I think the shovel is there to get some air flow around the t-case. Checked the temps today and it was 195 on the back of the t-case. Tunnel inside was a warm 125. Carpet might have to go back in.
|
|
mpja
New Member
Posts: 45
|
Post by mpja on Jun 24, 2015 19:07:05 GMT -6
I did a quick search on temps, the transfer case should be close to the transmission temp, but what I have found 200 deg is normal for a transfer case.
|
|
|
|
Post by dmurphy on Jun 26, 2015 13:18:59 GMT -6
Thanks Scott that is about what I have found. The fluid that I drained out of the t-case looked more like motor oil than tranny fluid.
Got the engine skid in from UCF last night. Have painted the 6 pieces and will try to get them in today. Will try to take a bunch of pics since the skid does not come with instructions. There is a 1 page pdf on the web but we will see how hard it is.
|
|